Linked SKUs
Summary
Products, including parent products, can be grouped via a Linked SKU Grouping. This relationship is determined by a single variant.
This grouping is different to a parent/child grouping:
- On list pages all products in the group will appear separately (whereas parent/child groupings only appear once)
- On the PDP, when different variants are selected, the title will change (whereas child products inherit the parent product title)
E.G. products corresponding to the same t-shirt in different sizes could be grouped via a parent product using variant “size”.
Please speak with your account manager to discuss enabling this module for your organisation.
How to Manage Linked SKU Groups
Create a New Group
Click on the Create linked SKU group button.
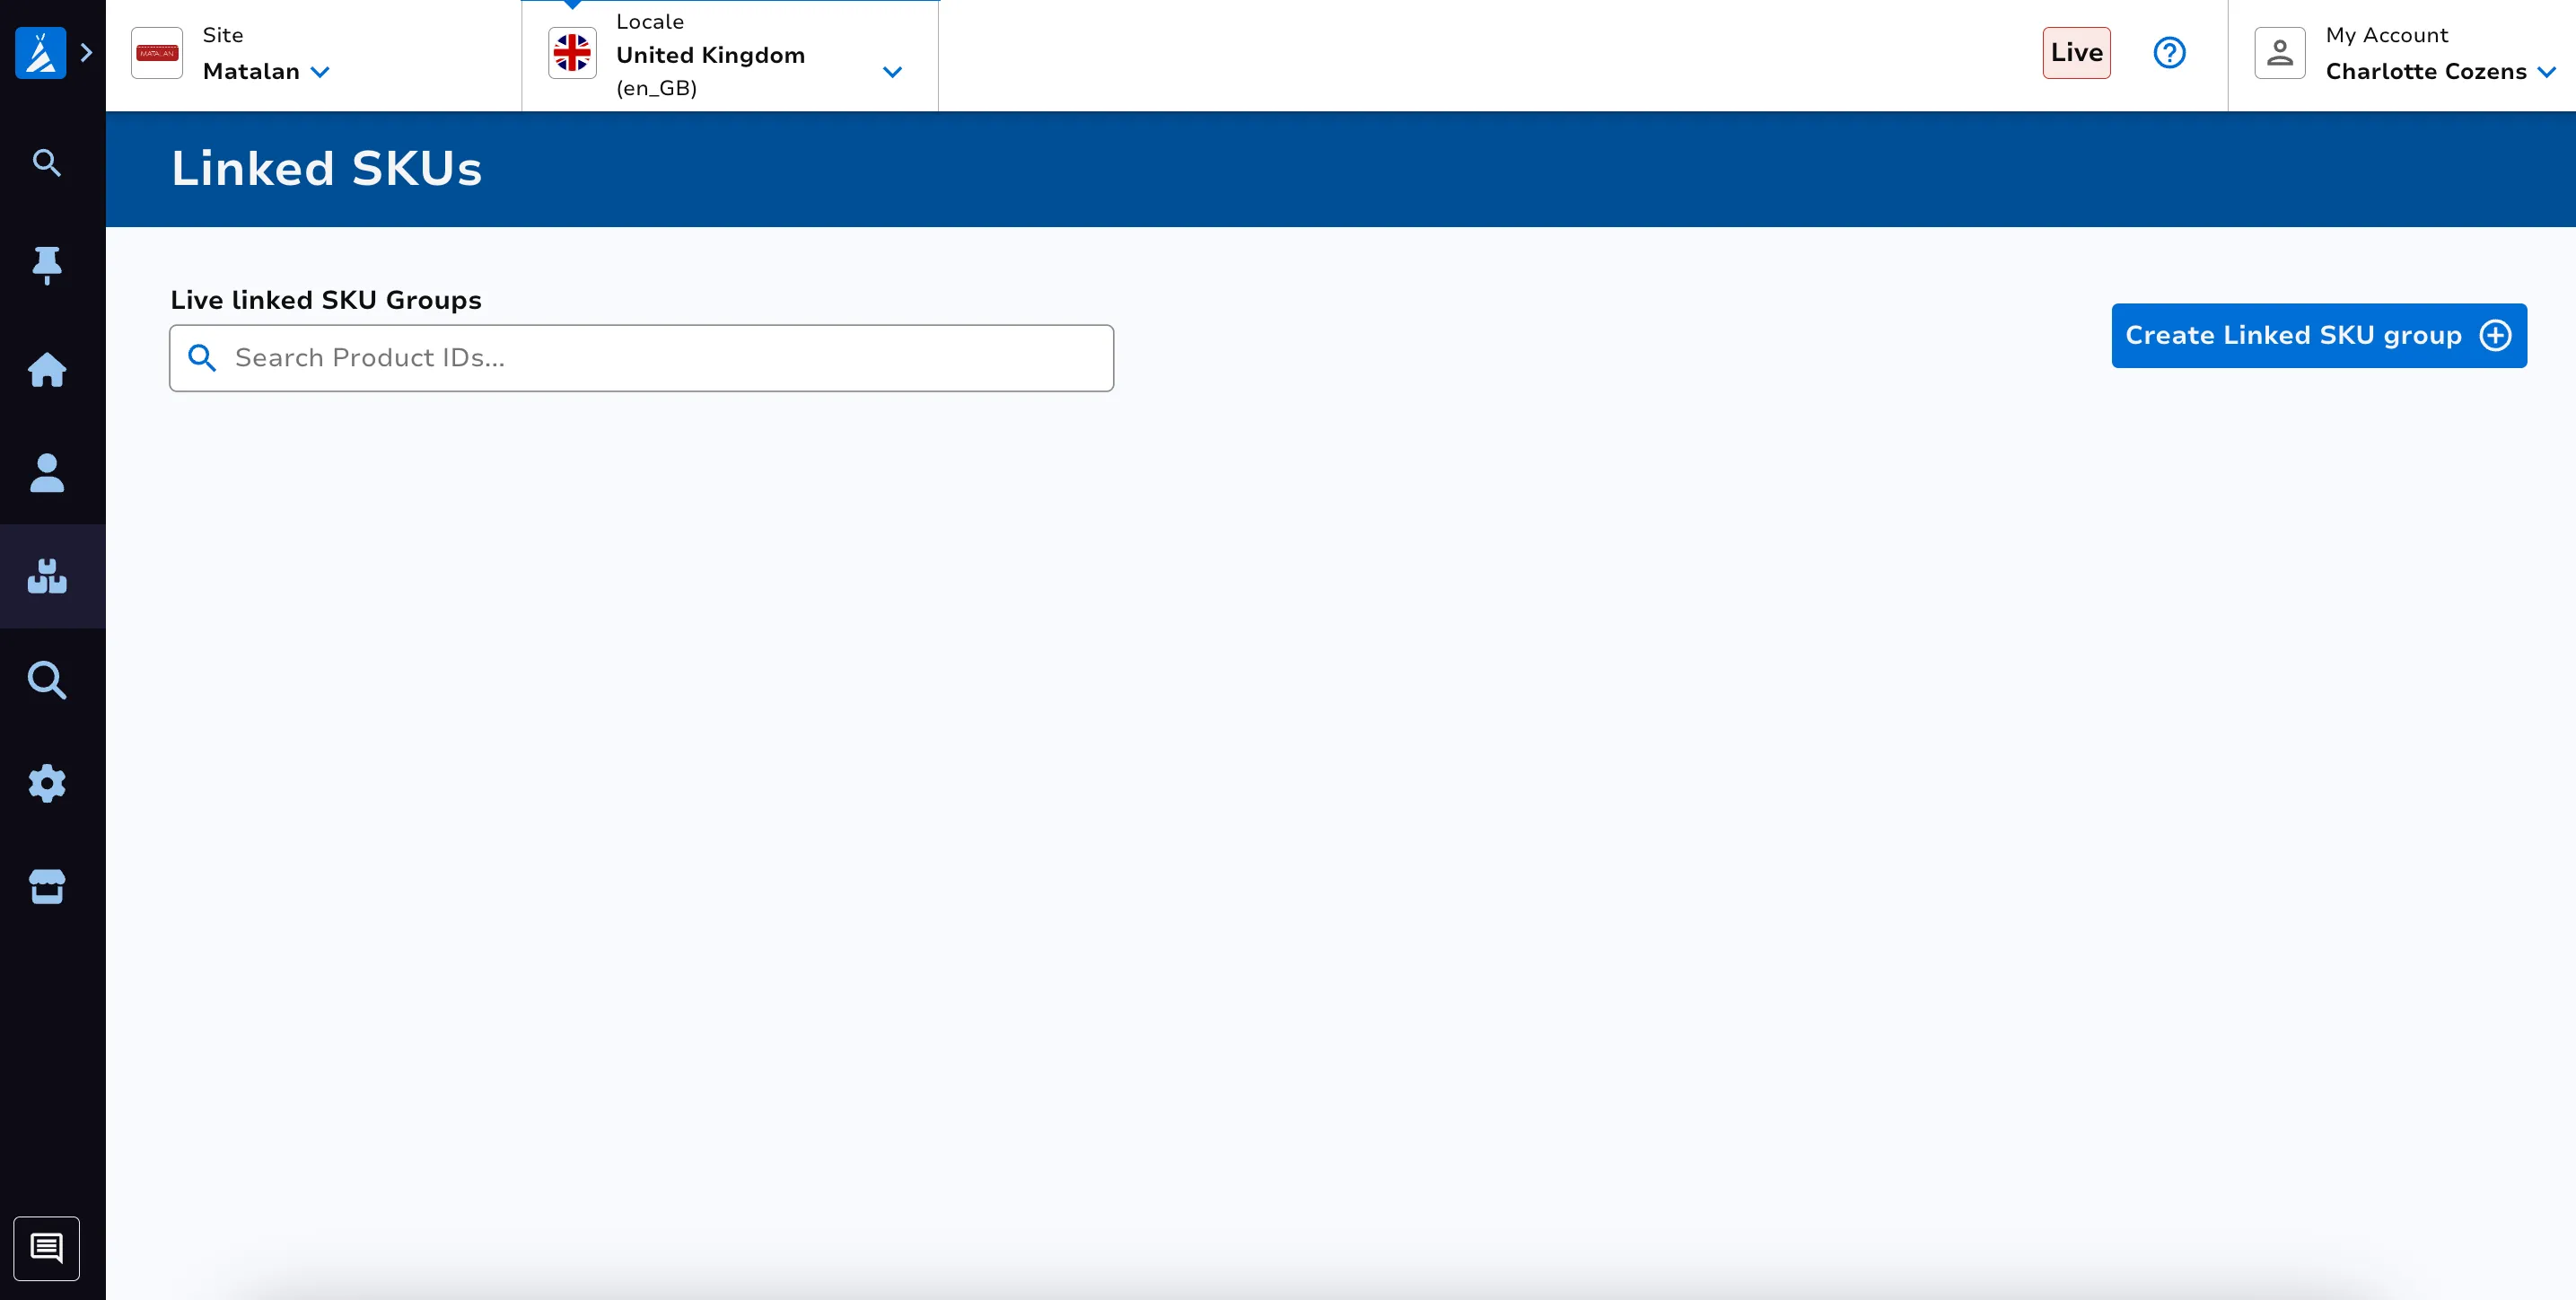
Enter the products you wish to include in your new group(s). Click Add once you’ve pasted all products you wish to manage.
Please note:
- The products must be simple or parent products. You can’t have child products in a linked sku group.
- Each product can only be part of one linked sku group.
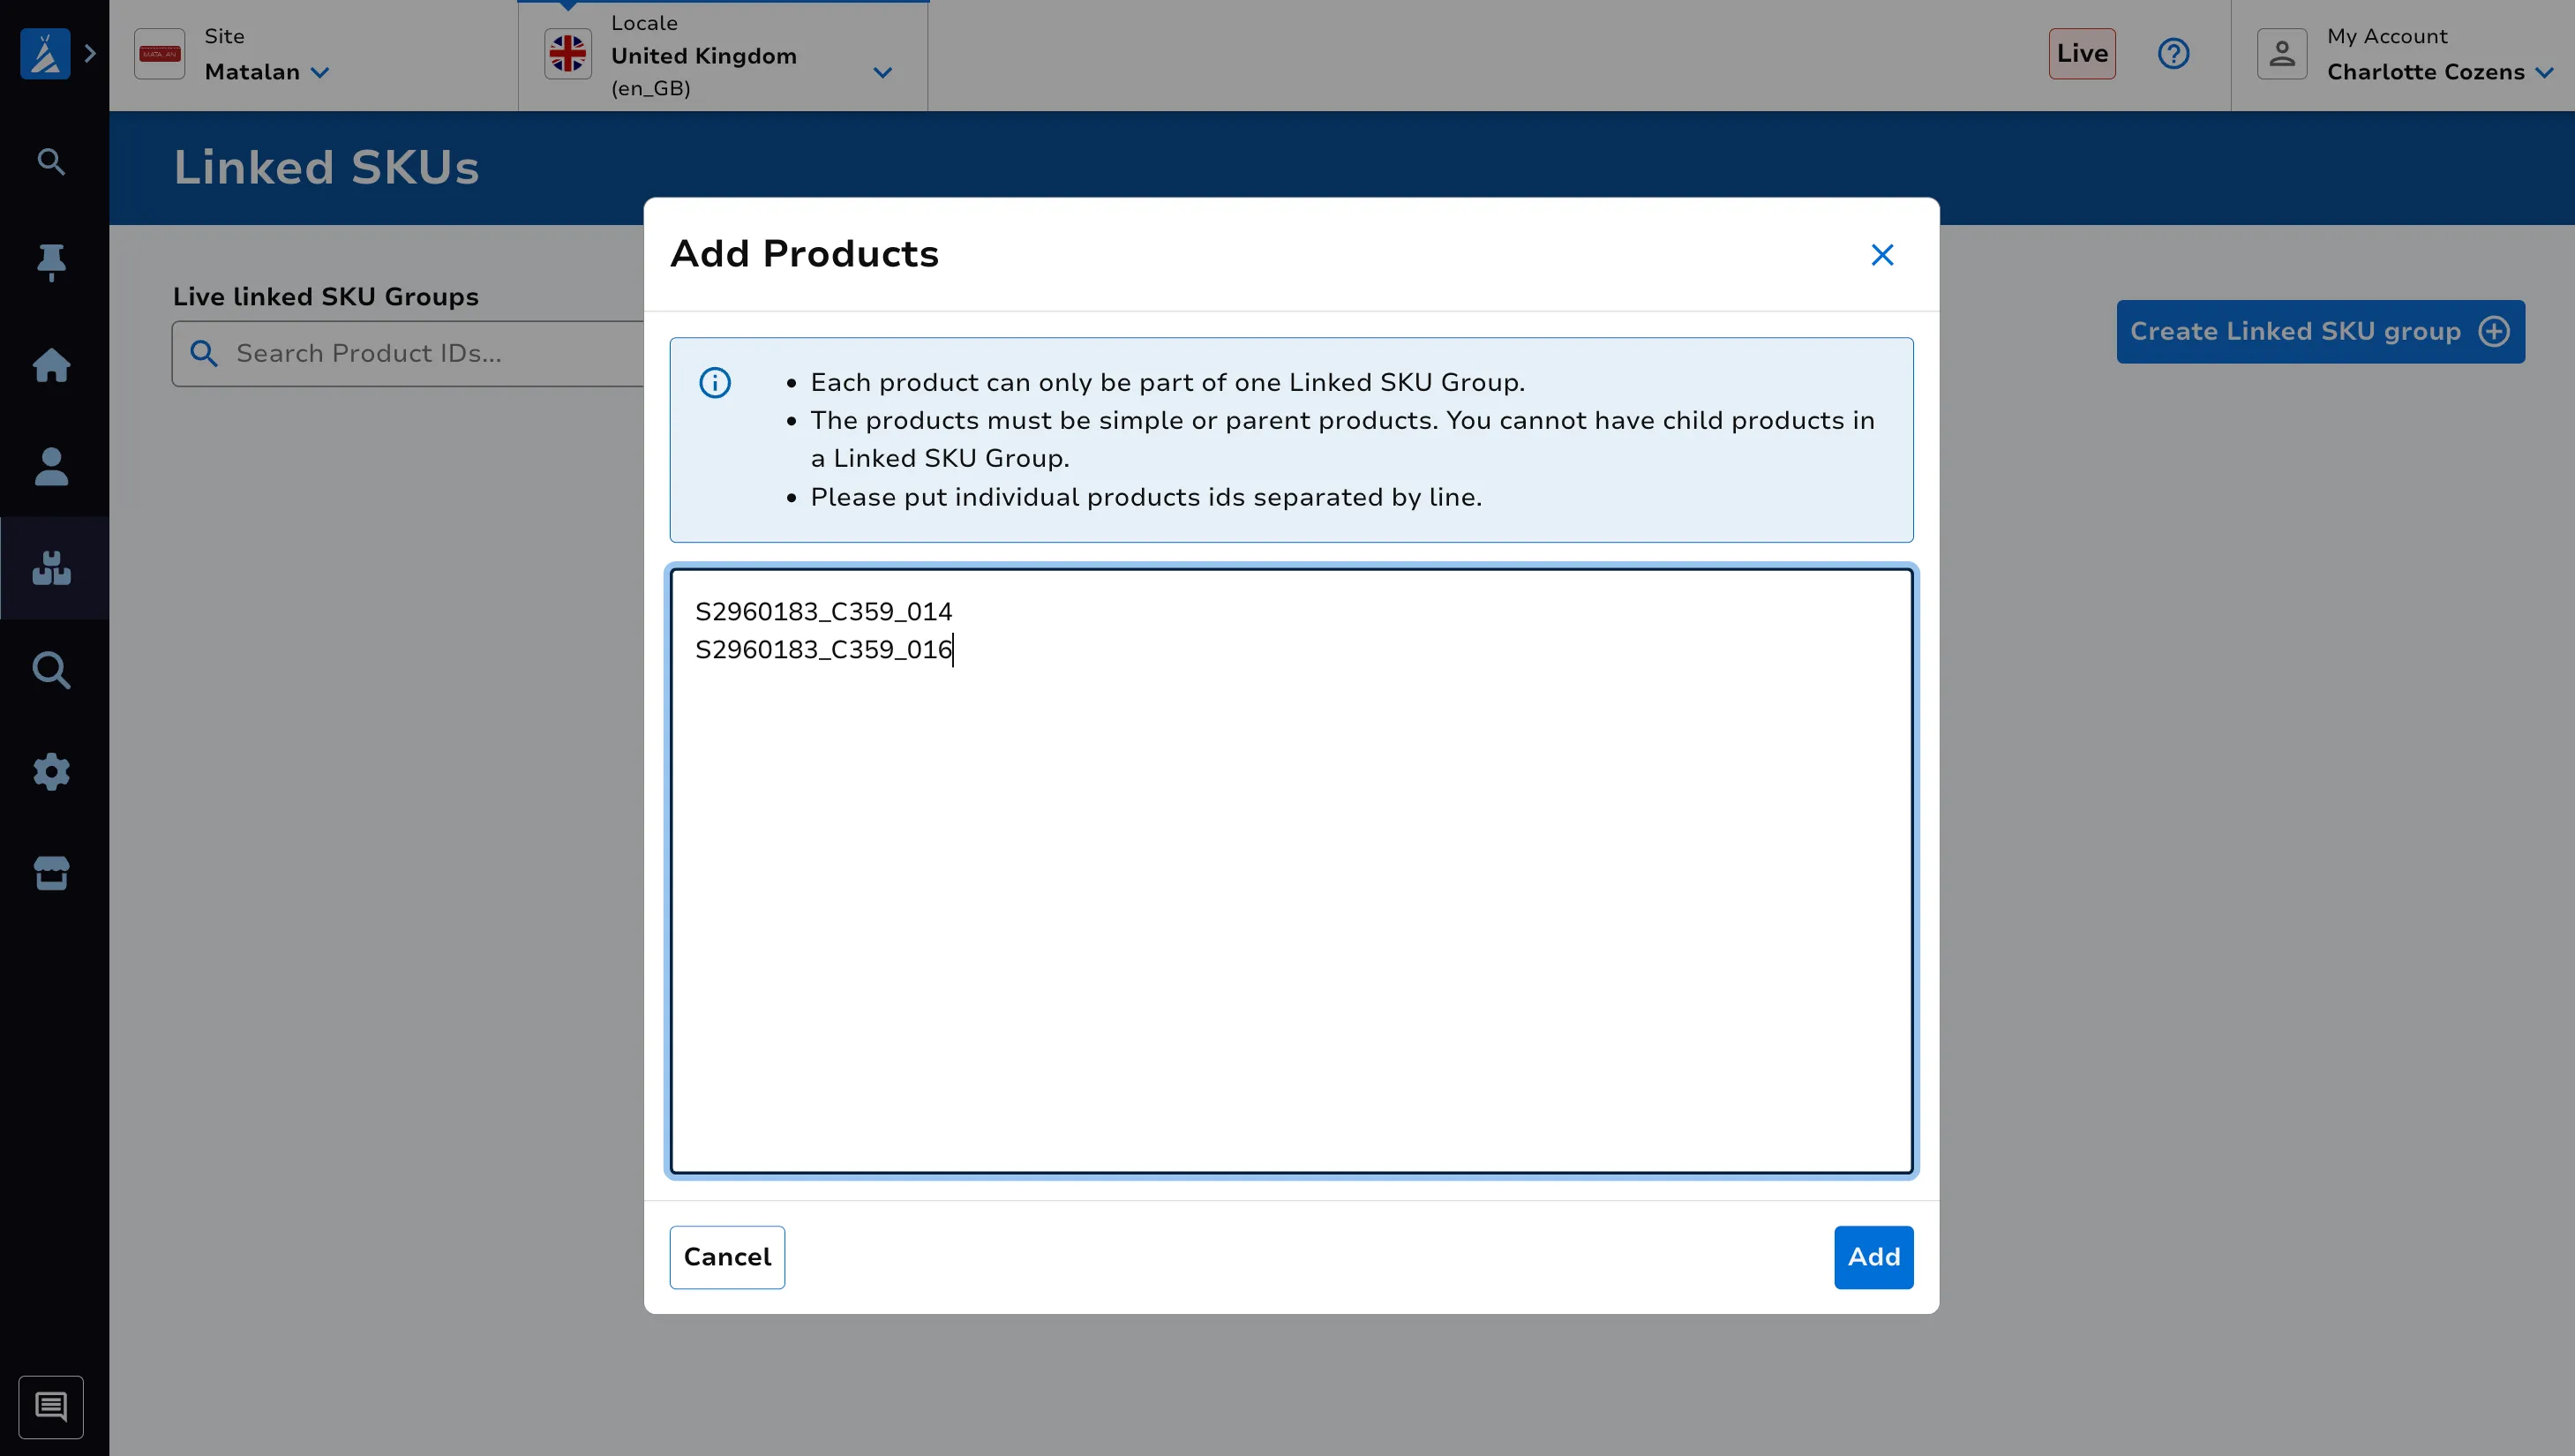
You must populate the group name in the appropriate box.
You must determine which variation (eg. Size) is used for your group by selecting from the available options within the Variation dropdown.
Once you’ve selected your variation (eg. Size), you must populate which Option(s) (eg. 2.5L) of that variation each product in the group has.
You can remove products from the group using the Remove from group button adjacent to a single product.
Once ready, press the Save linked SKU group button to save your changes.
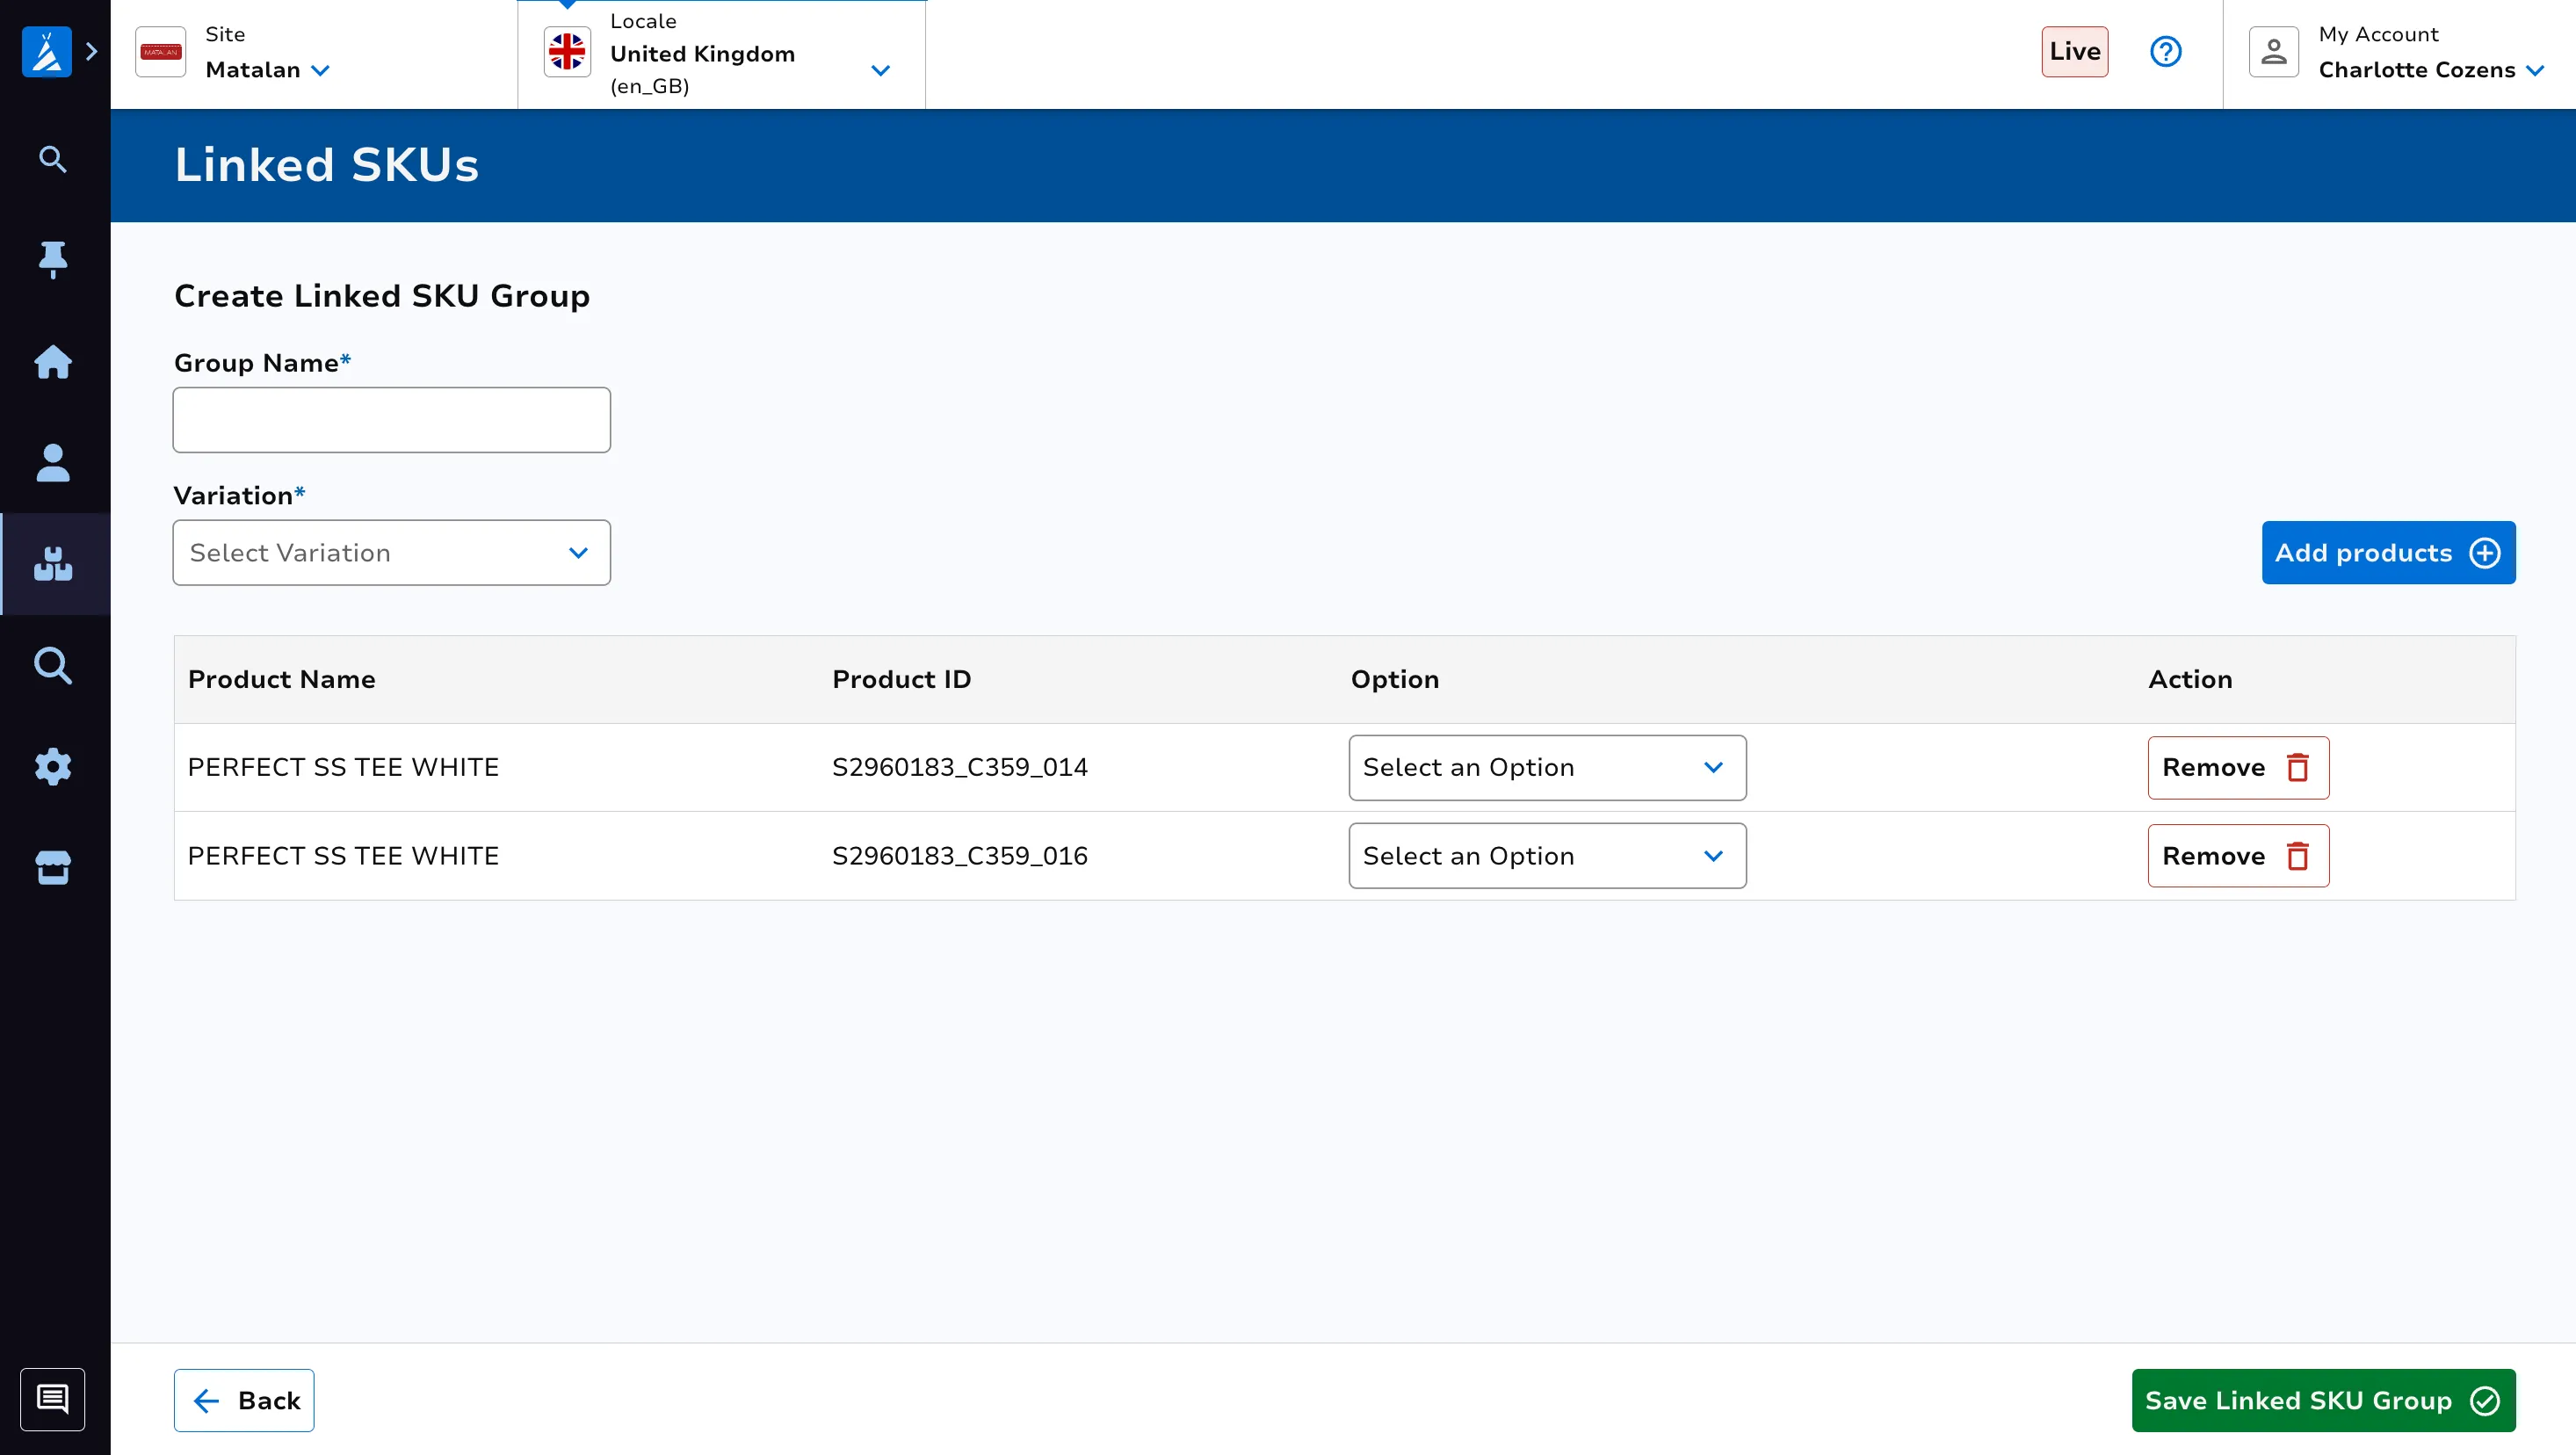
Search for an Existing Group
Search to see if a product already exists in a Linked SKU group by inputting the product and pressing your return key ↵.
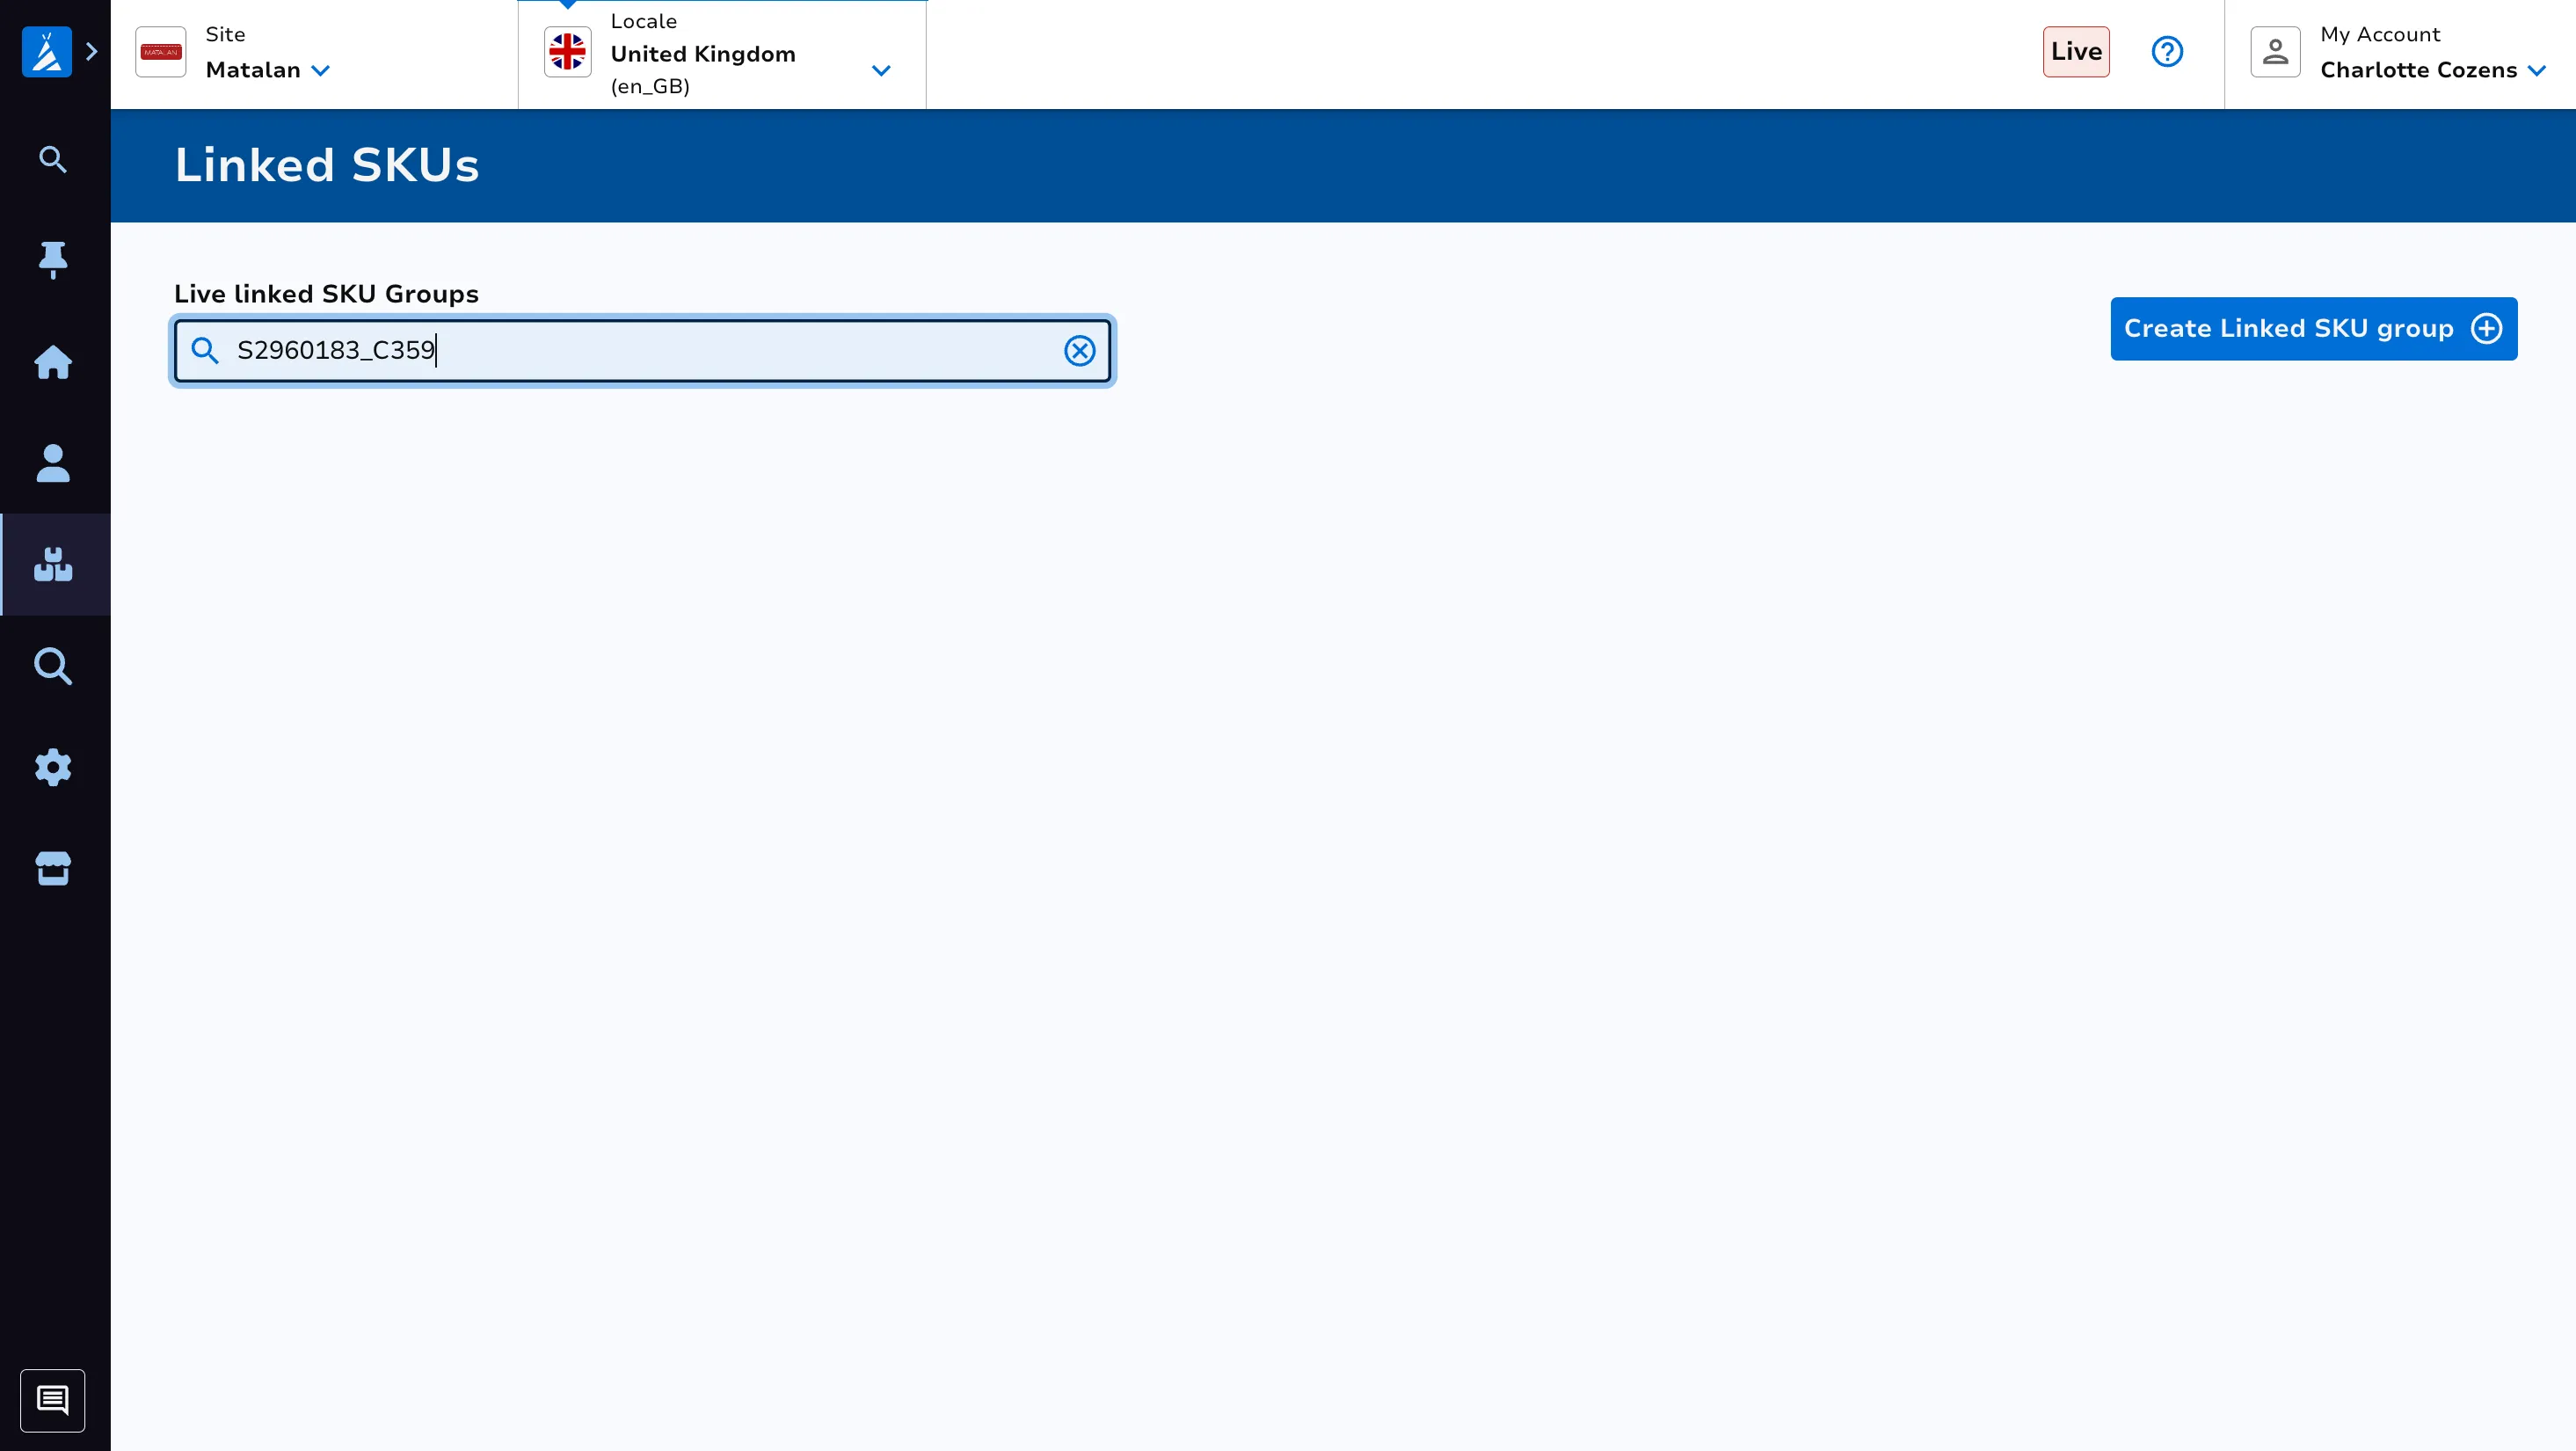
If the product is not yet part of a group, you’ll see a red error pop up in the bottom right hand corner.
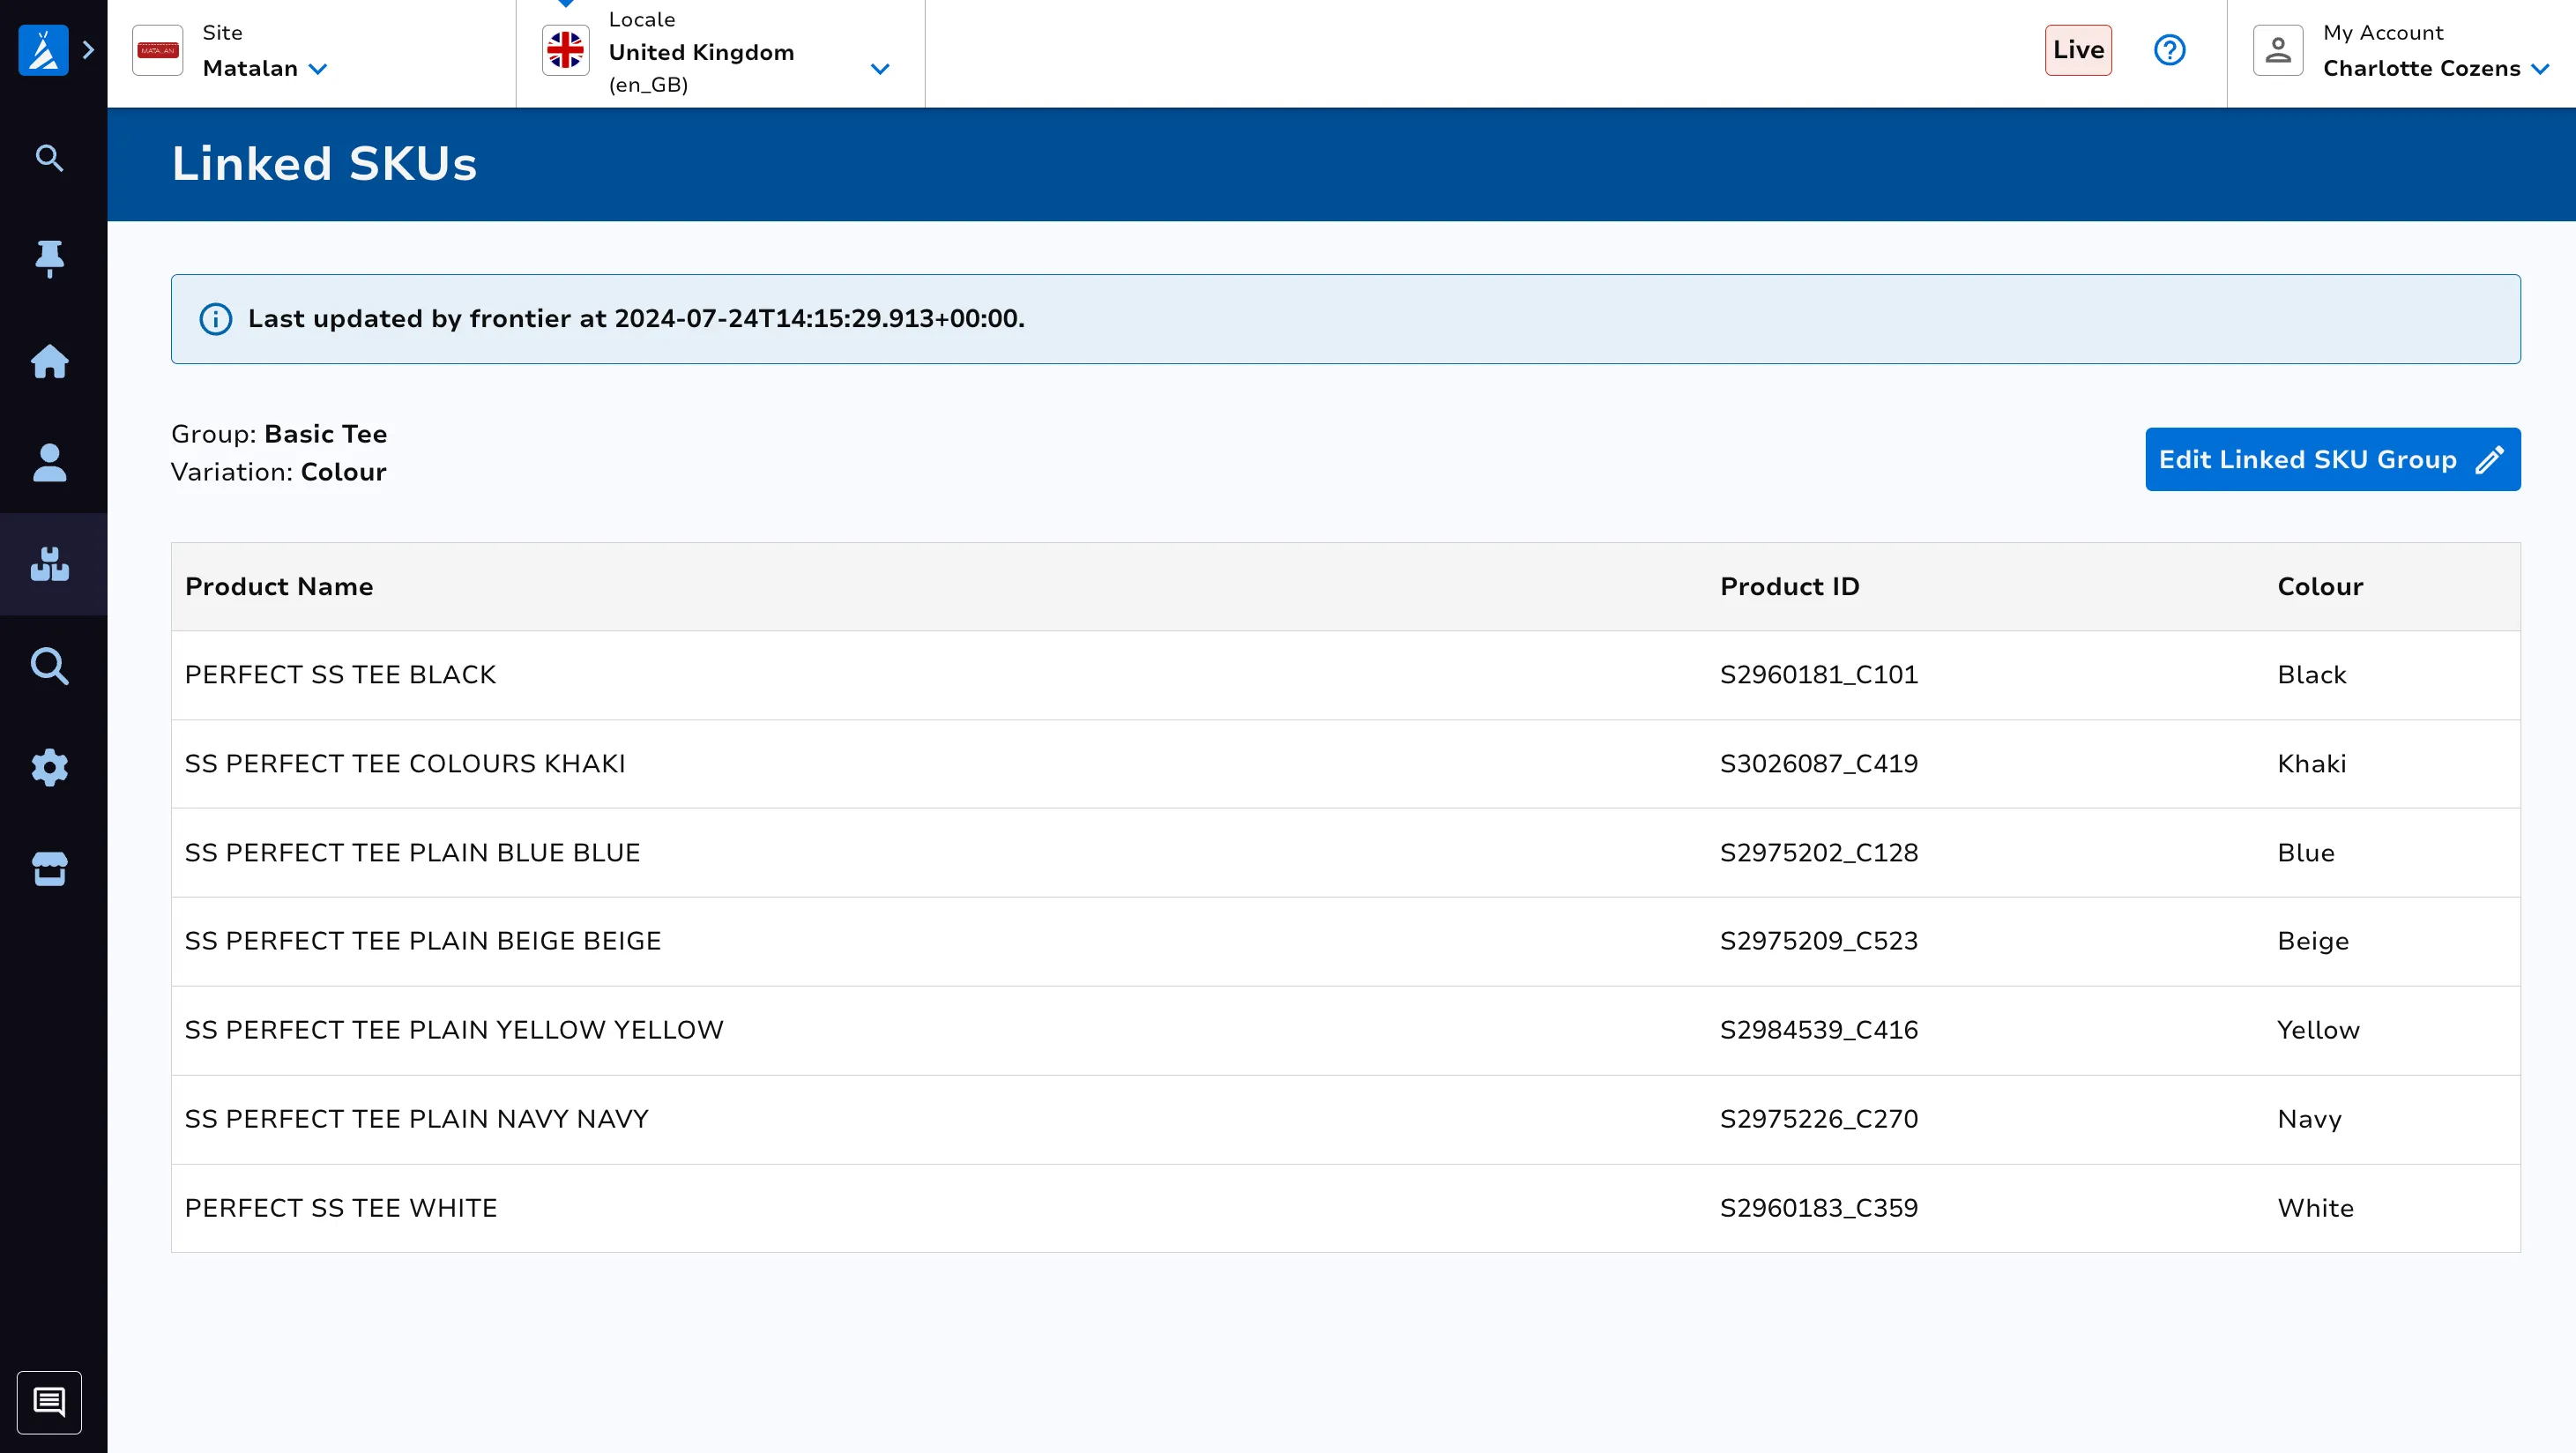
If the SKU is already part of a group, you’ll see the details of the group appear as follows:
Editing an Existing Group
Once you have found an existing Linked SKU Group, you can edit the group by clicking the top right Edit linked SKU group button which brings you to the following page:
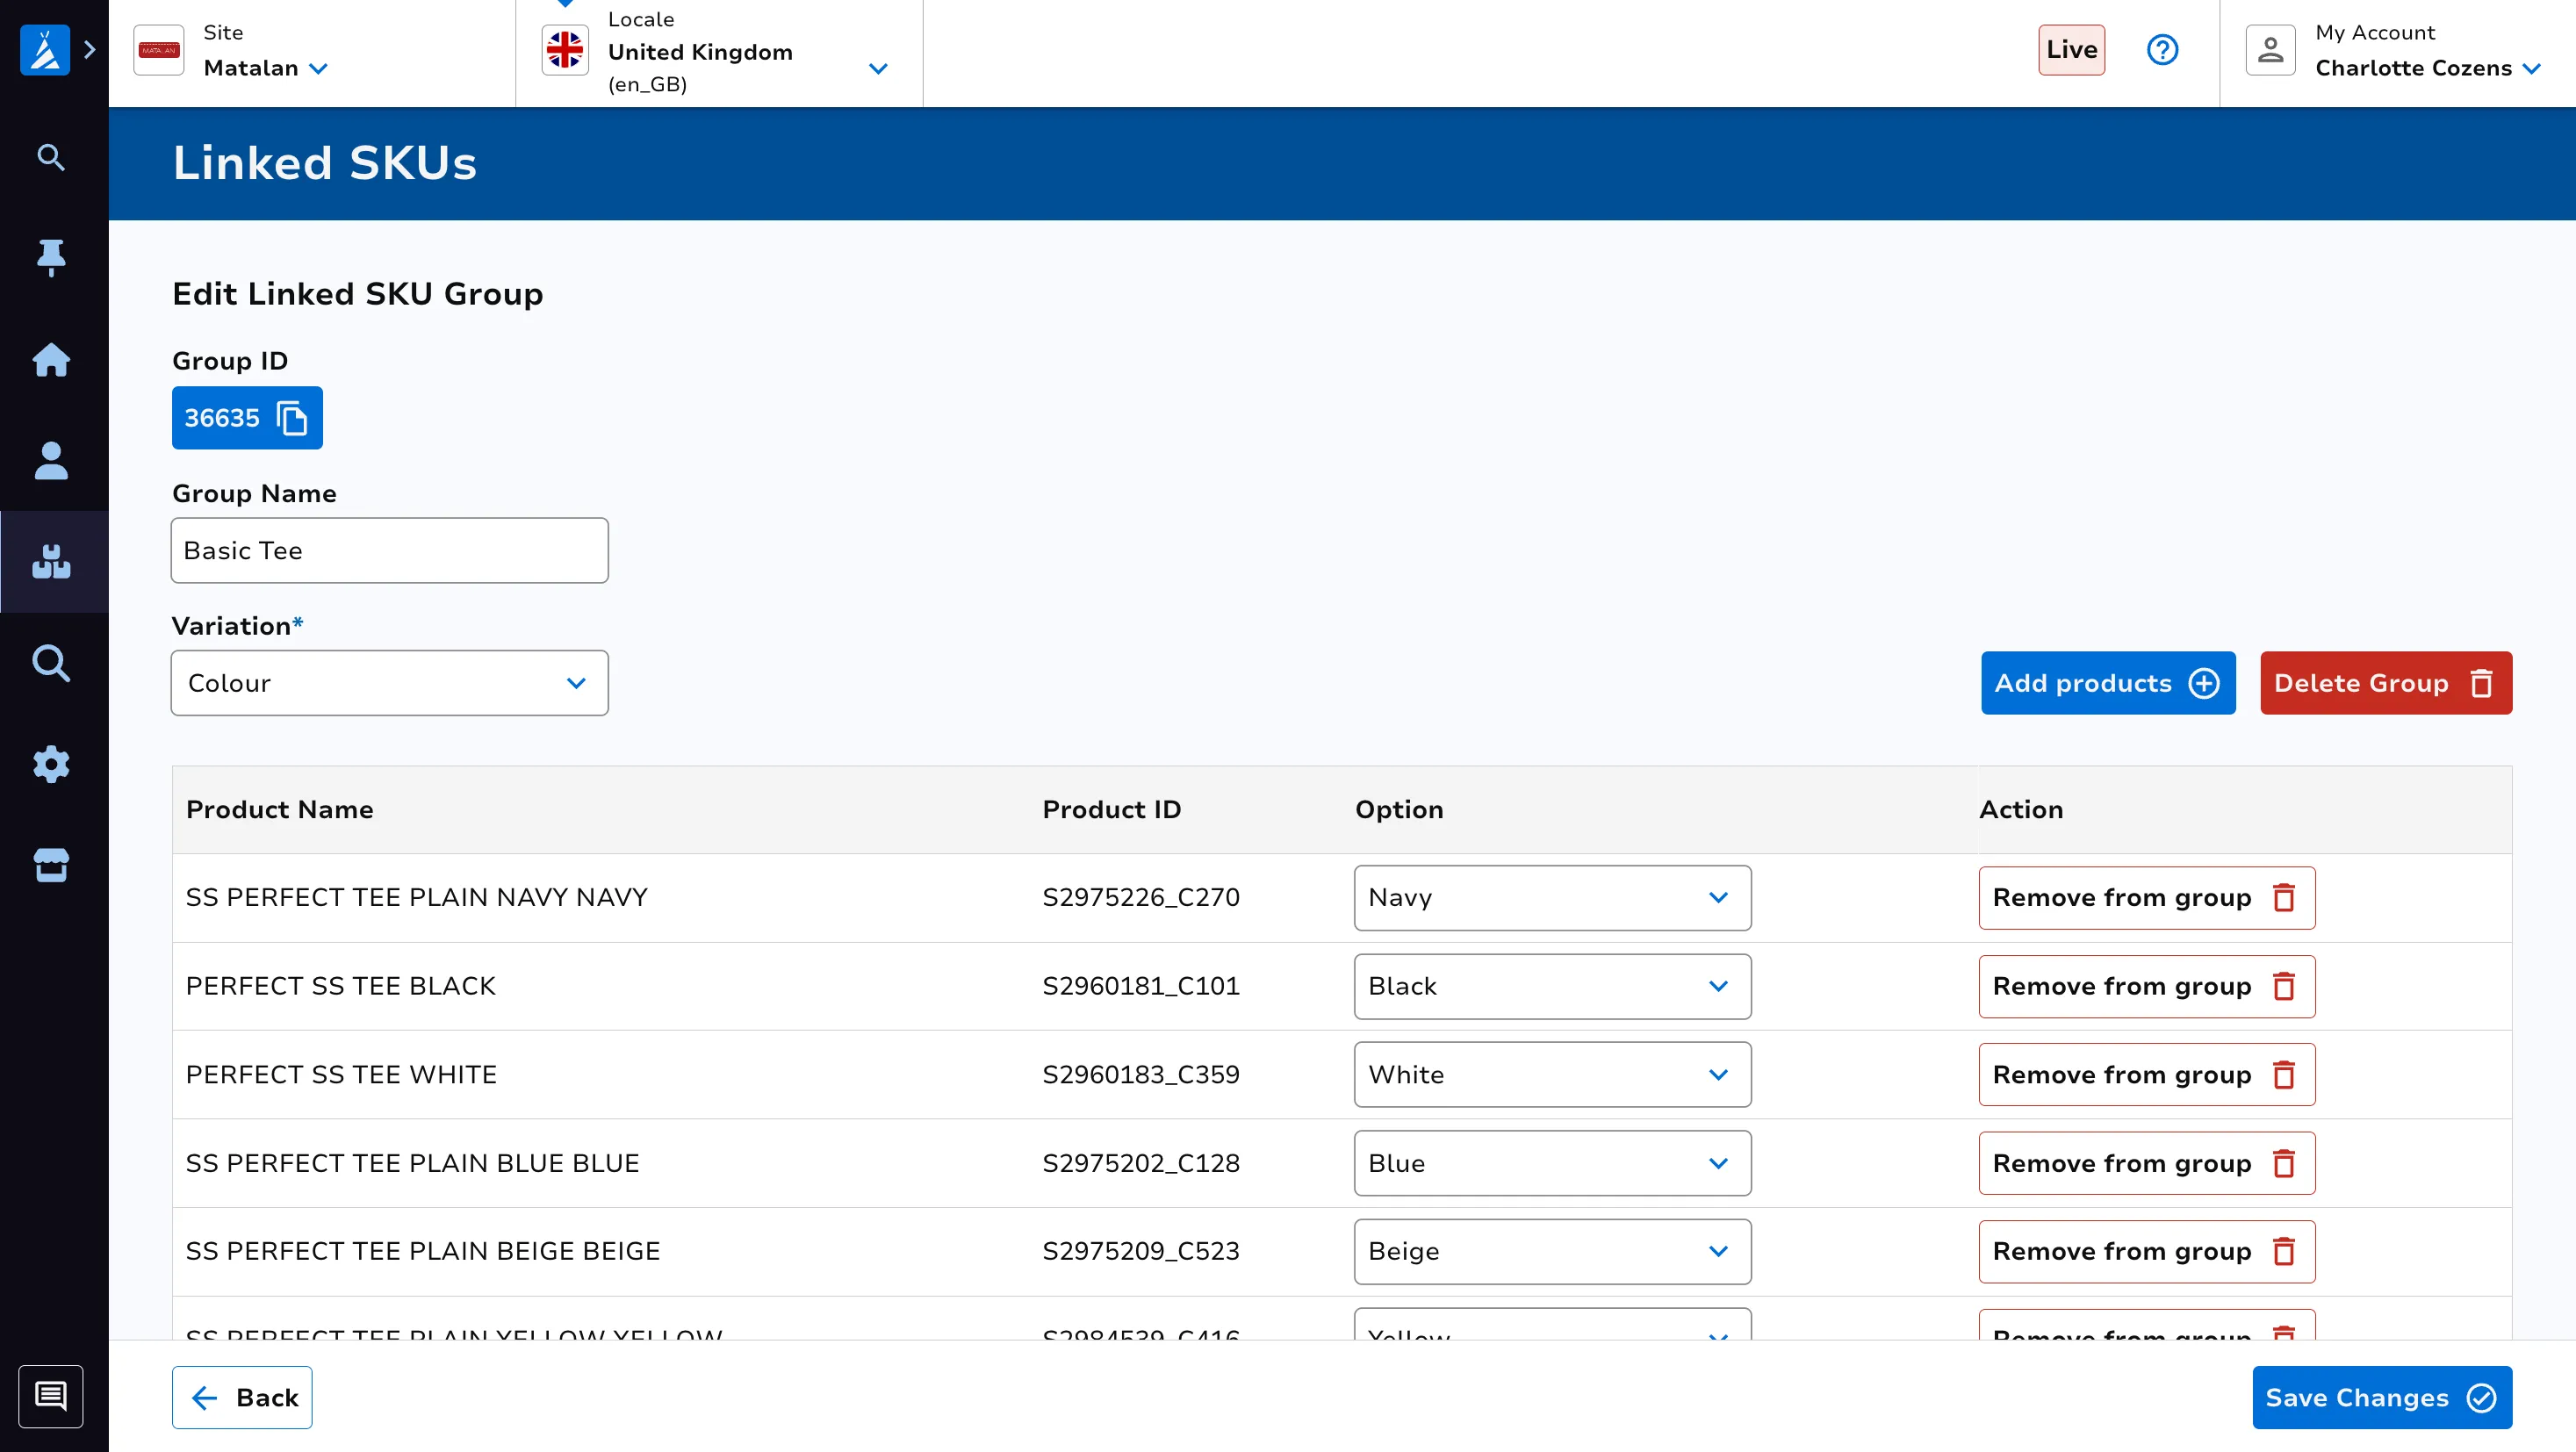
You can edit the group name in the appropriate box.
You can edit which variation (eg. Size) is used for your group by selecting from the available options within the Variation dropdown.
Once you’ve selected your variation (eg. Size), you must populate which Option(s) (eg. 2.5L) of that variation each product in the group has.
You can remove products from the group using the Remove from group button adjacent to a single product, or the Remove all button to remove all products.
You can add products to your group by clicking the Add products button, entering your products and clicking Add.
Make sure to hit Save Changes once you are complete with your changes.