Campaigns
Summary
The Campaigns module in Teepee is used to create, edit and view campaigns. By a campaign we mean a scheduled time period where widgets will change on the website, for a certain set of customers.
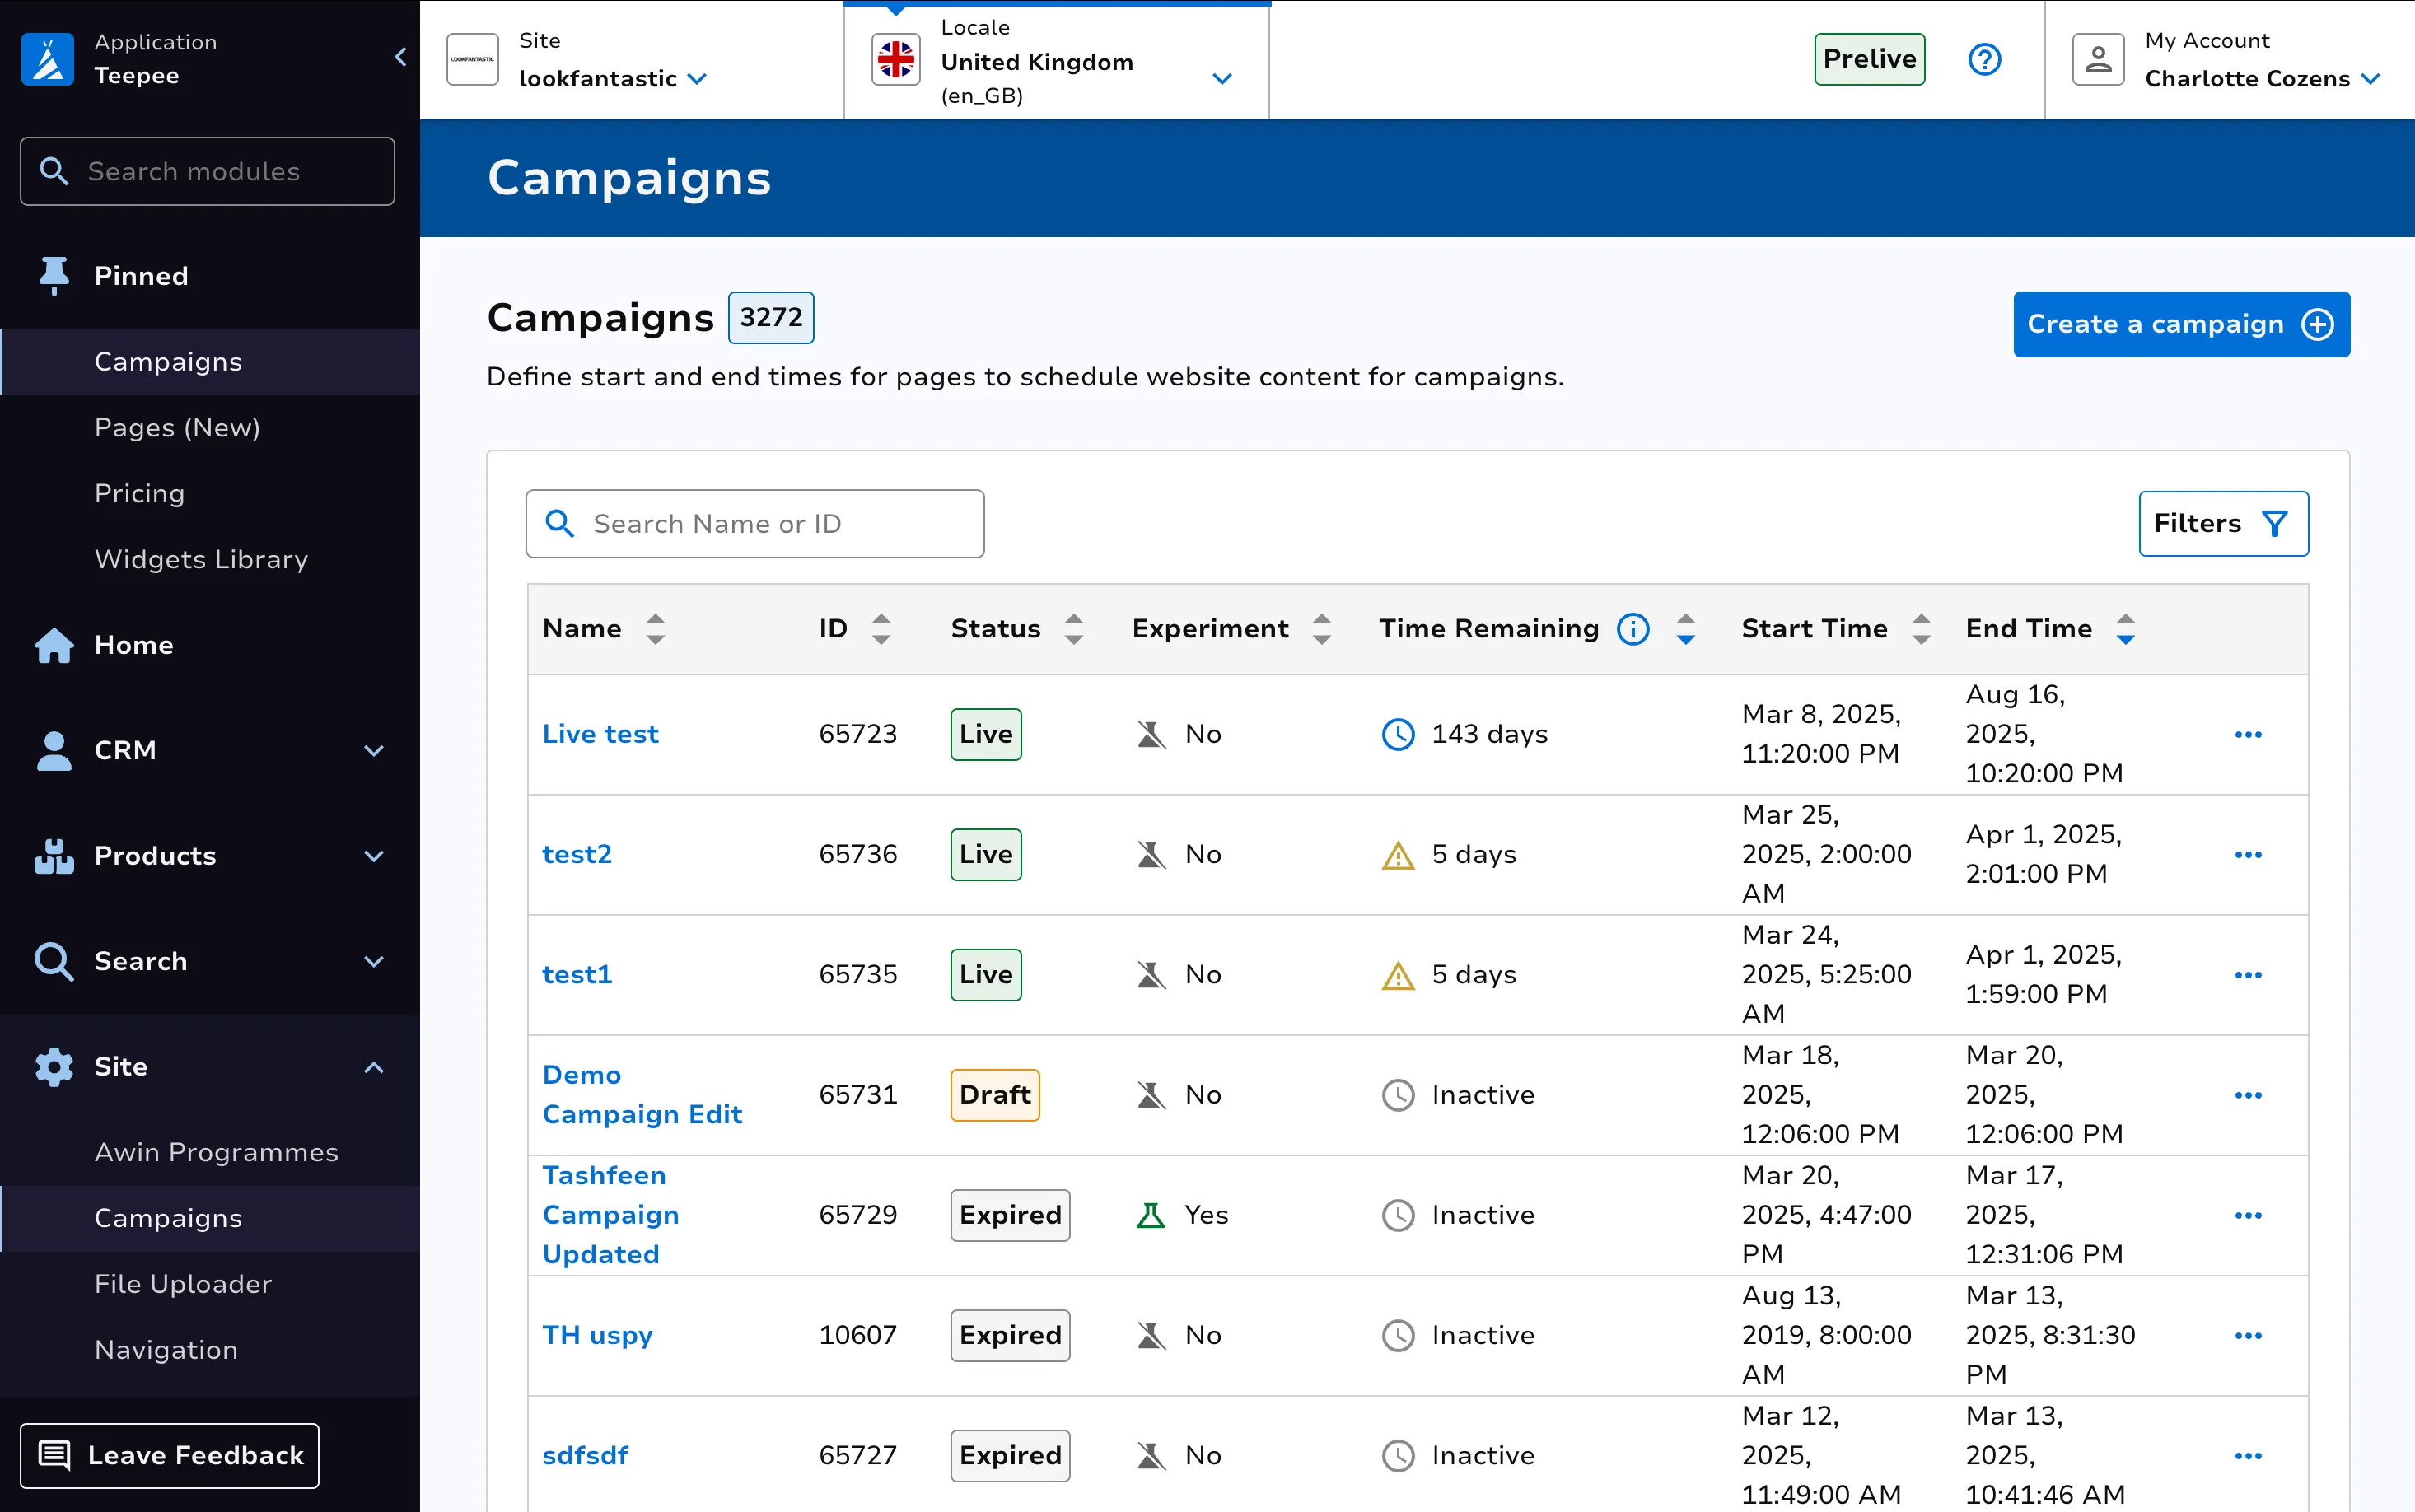
View Existing Campaigns
From the home page, you are able to see and filter campaigns in different states.
- Live campaigns are currently applied to the website.
- Scheduled campaigns will become live when the start date is reached.
- Draft campaigns will not become live when the start date is reached as they are just in the draft state.
- Expired campaigns are ones which were previously live, but where the end date has already passed.
Create a Campaign
Click the Create a campaign button at the top right.
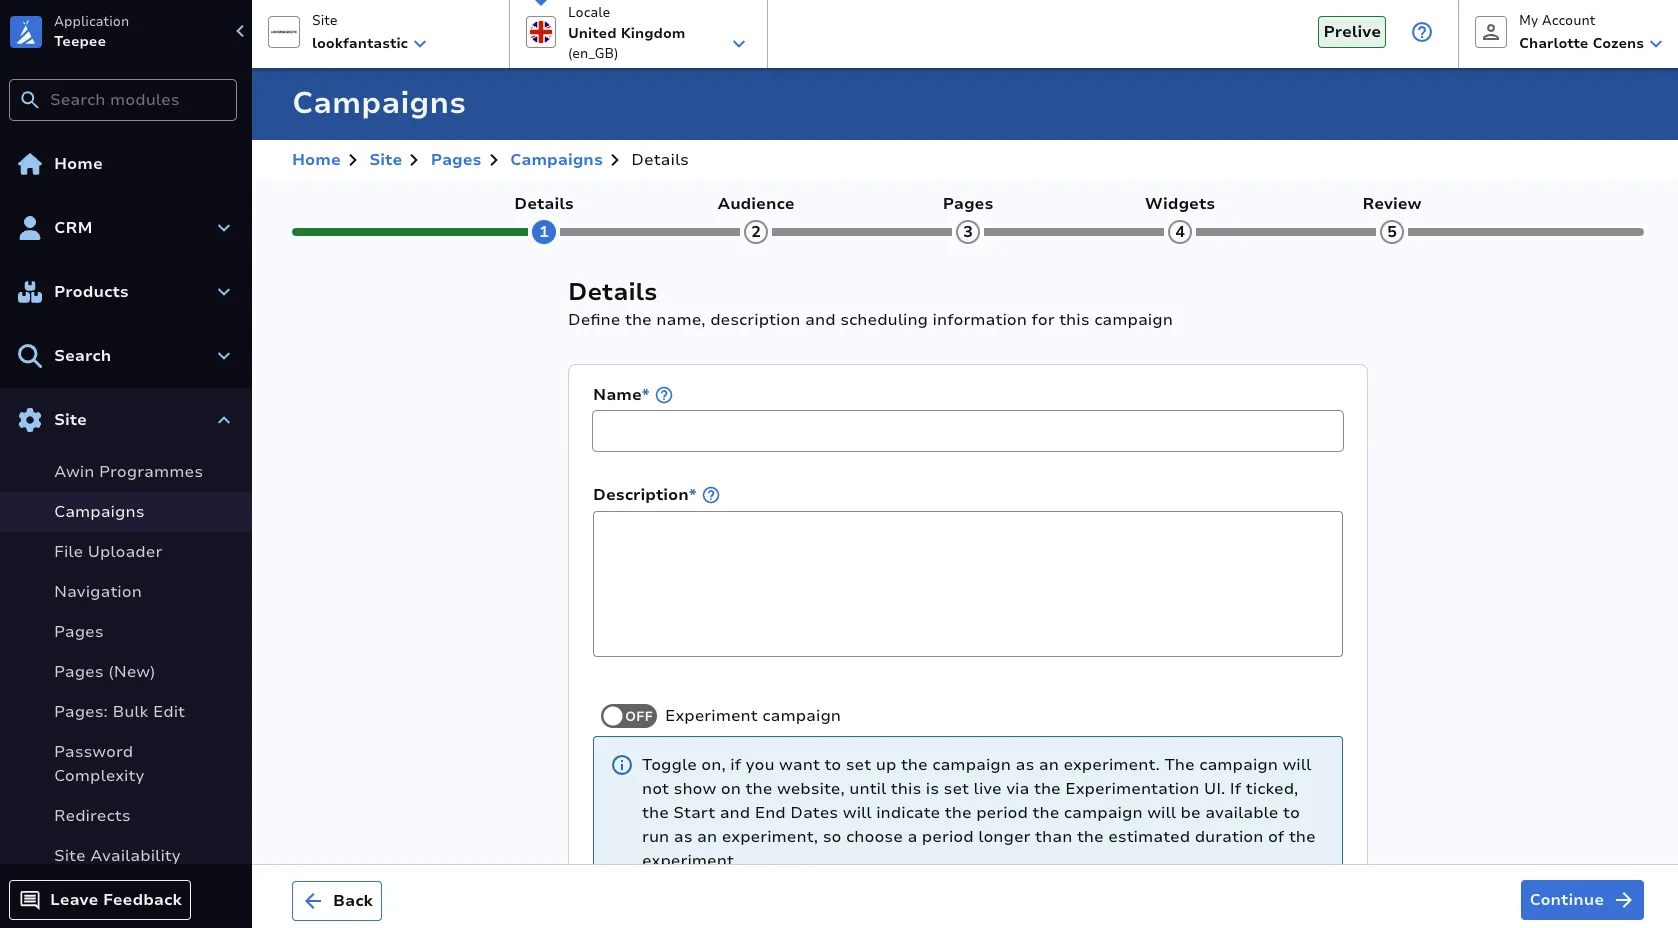
Input the details including the dates for when you’d like your campaign to run. If you’d like to run your campaign as an experiment using Experimentation UI, enable this via the toggle.
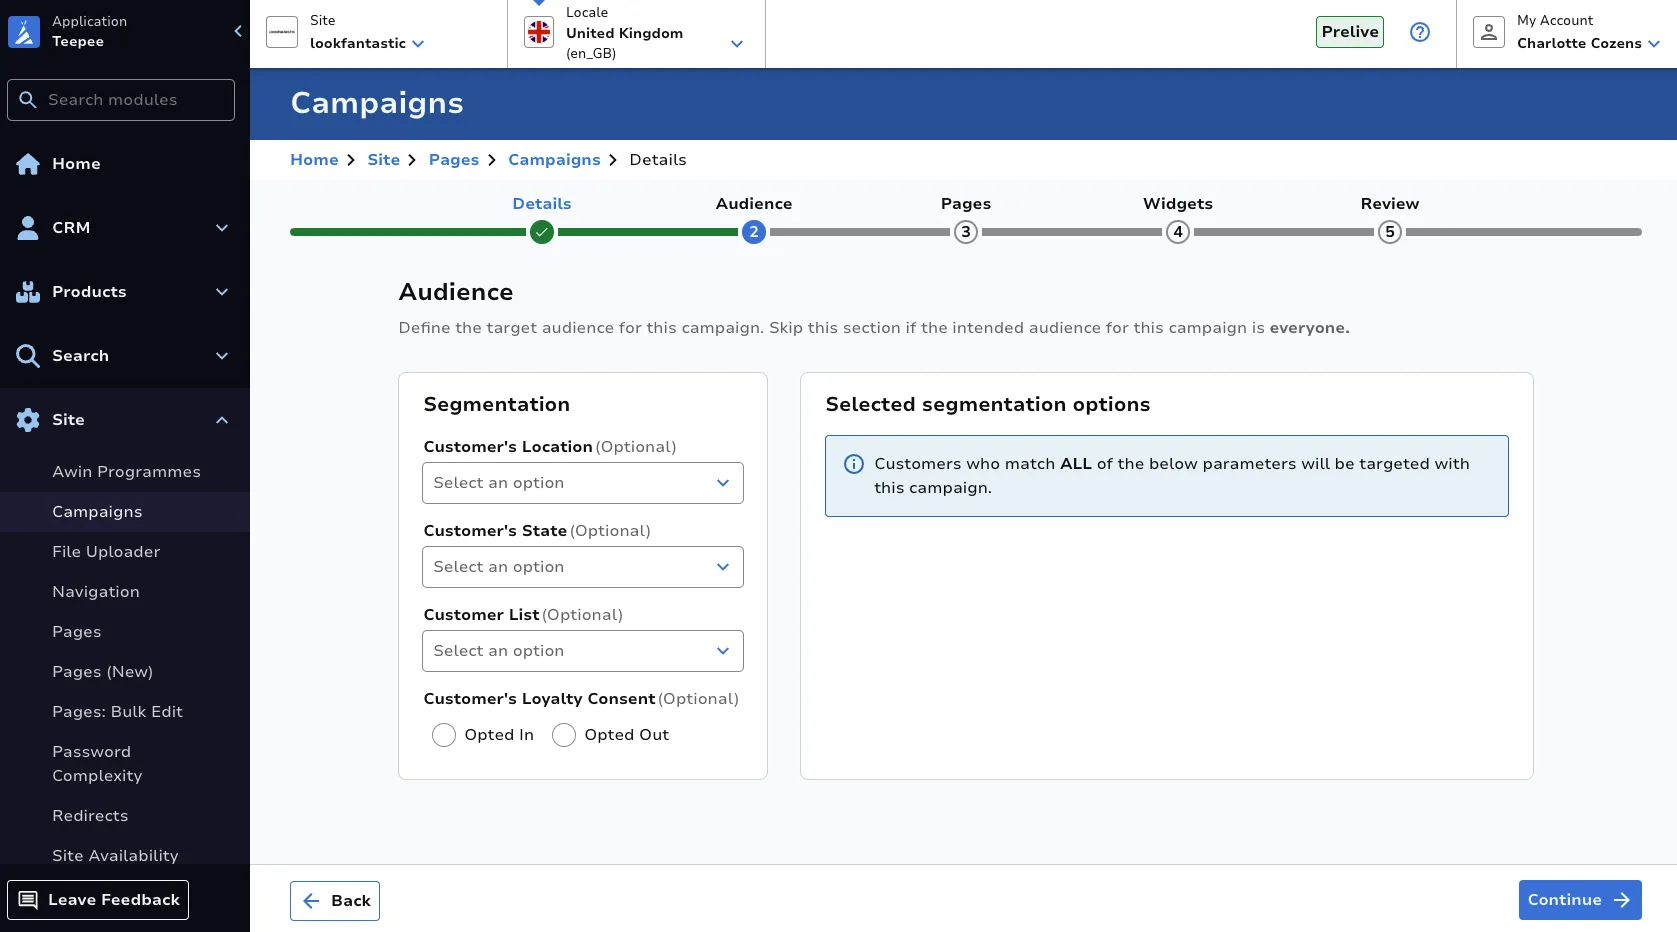
Determine the appropriate customer segment or leave this selection blank if you’d like the campaign to apply to all customers.
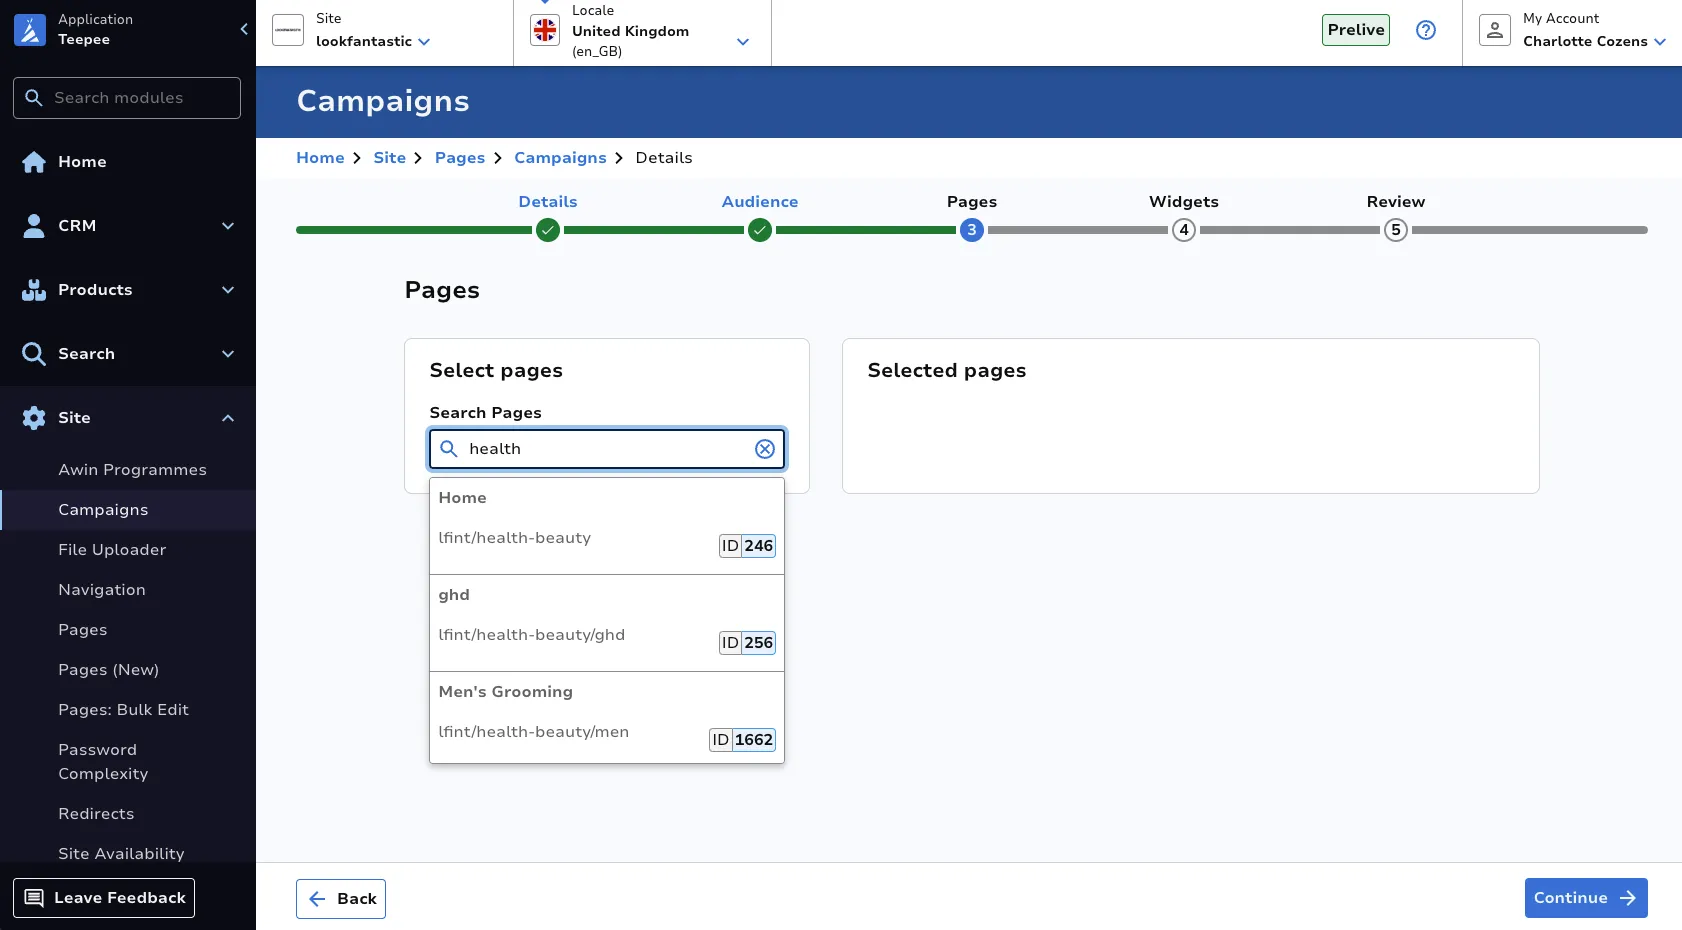
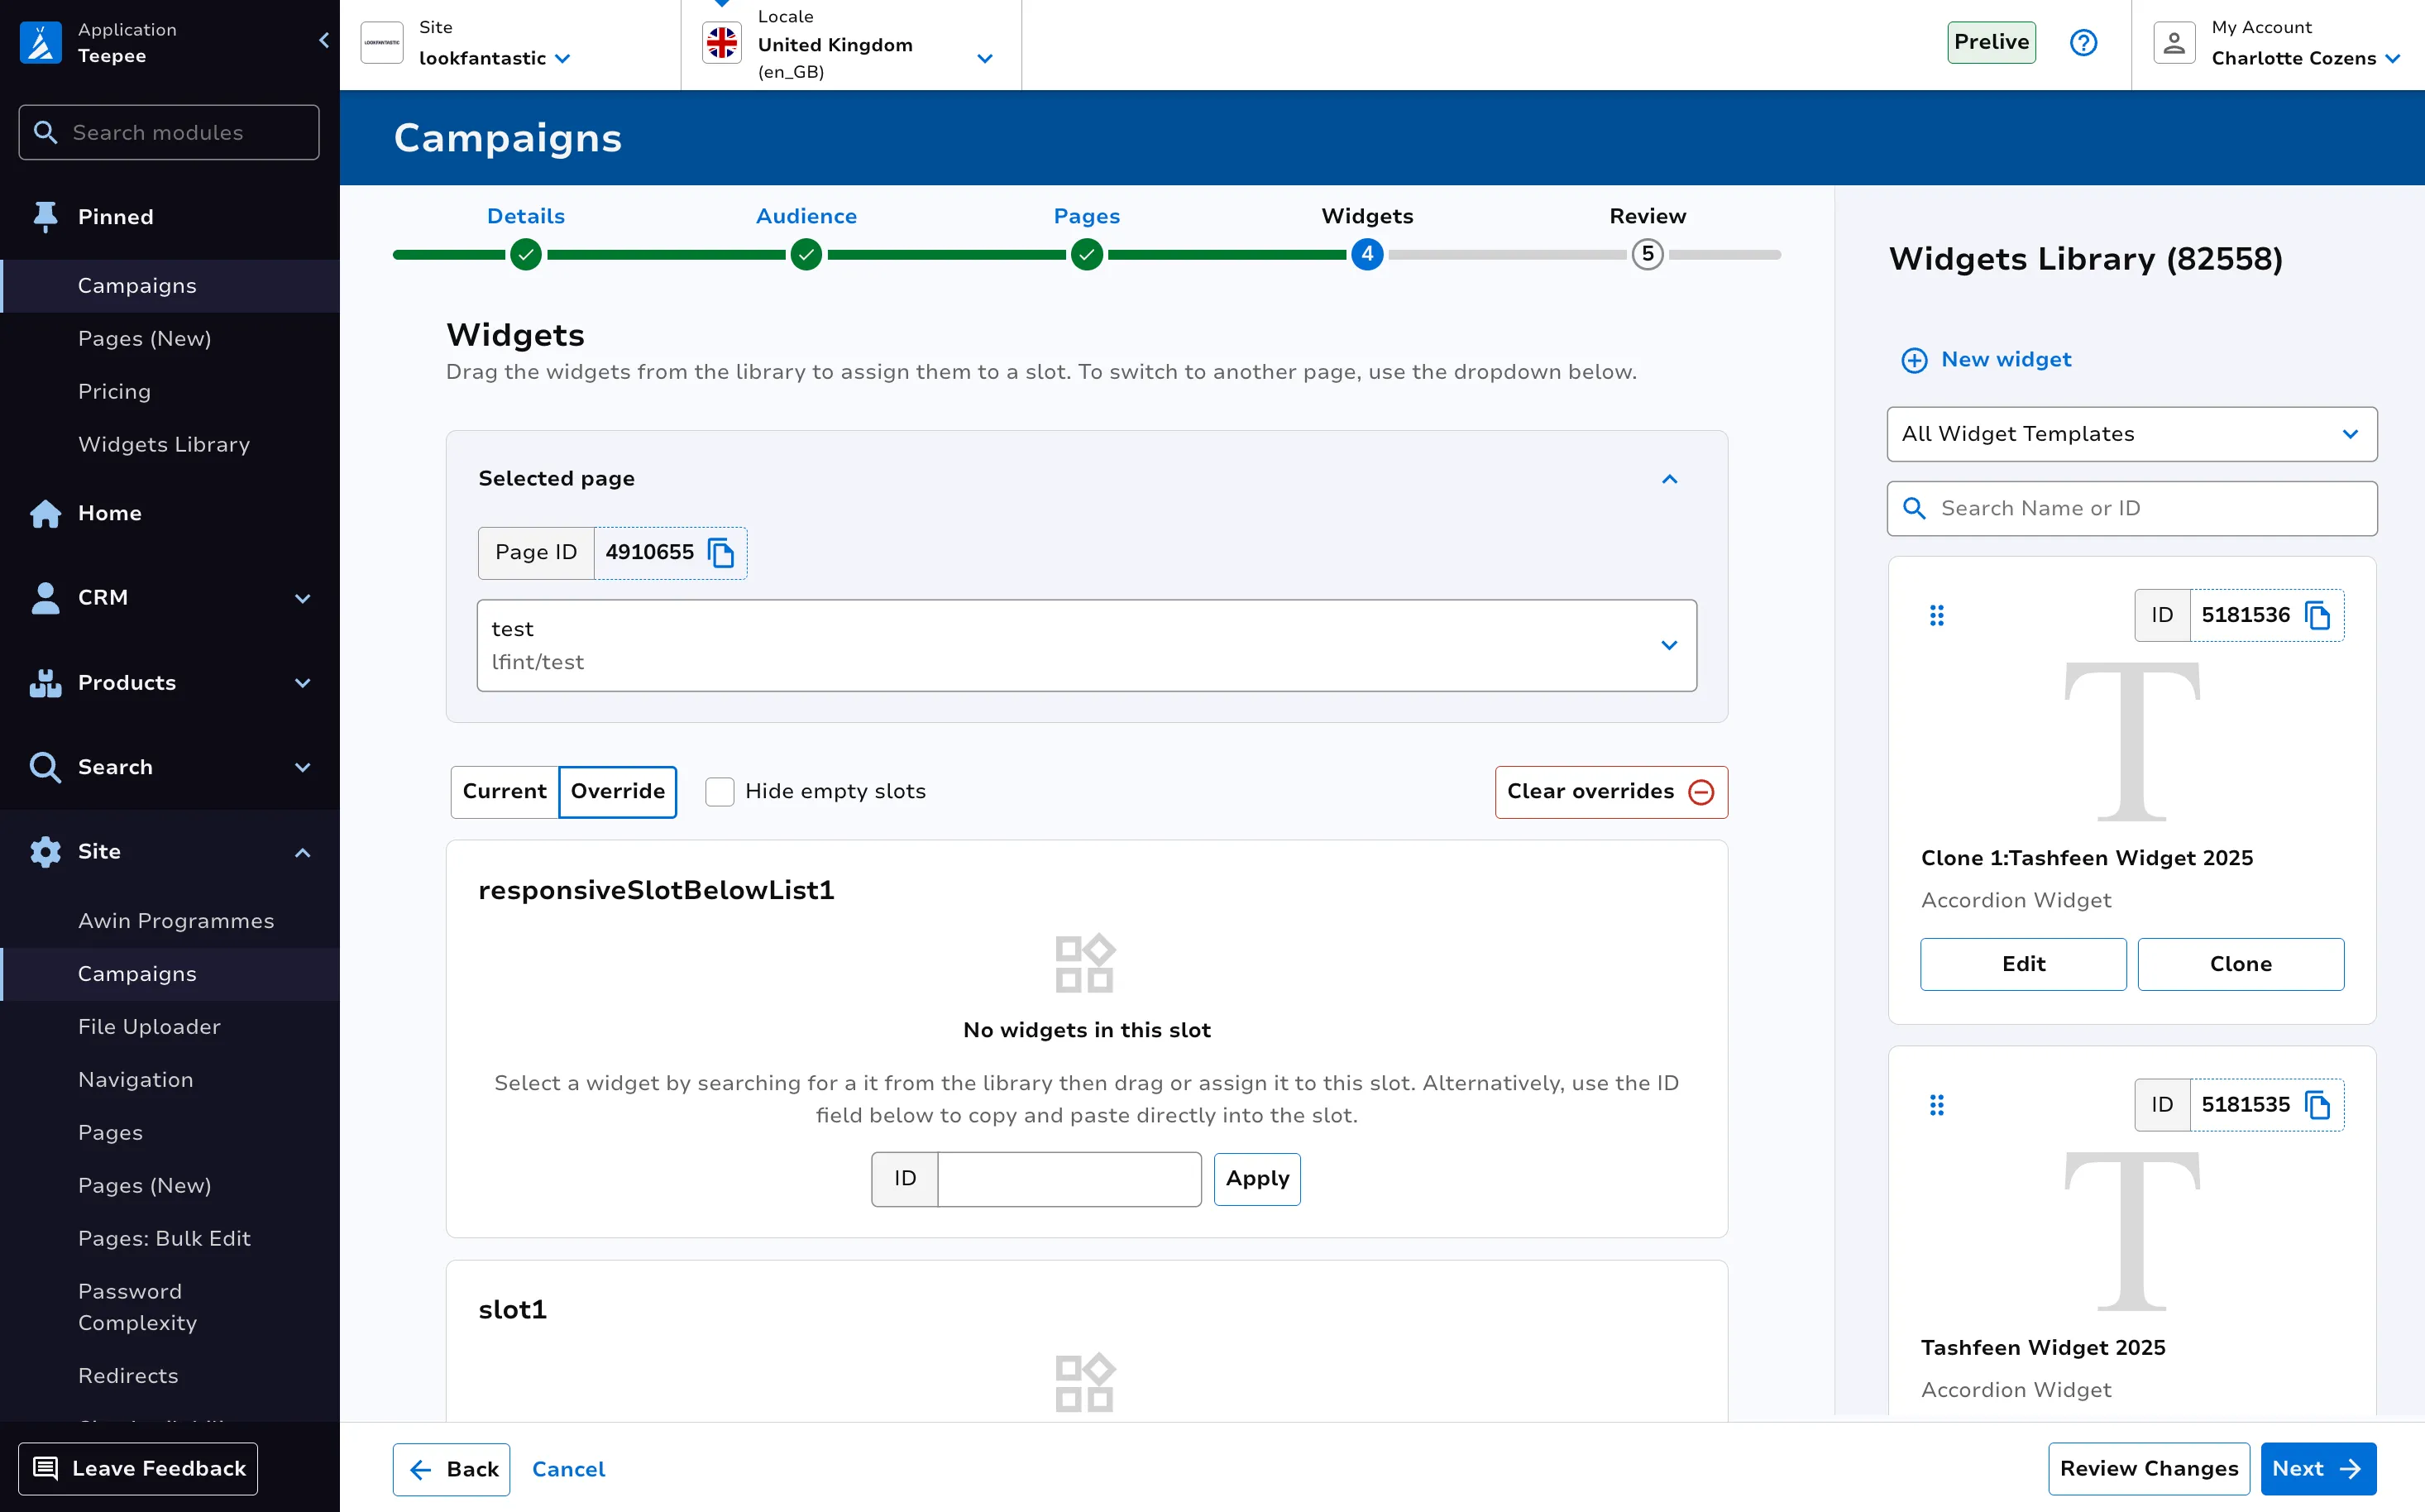
Now select which pages you’d like to make changes to as part of this campaign. You can include as many as you like.
For each page, assign widgets to the relevant slots. For more information on this, see the Pages module user guide: Pages User Guide.
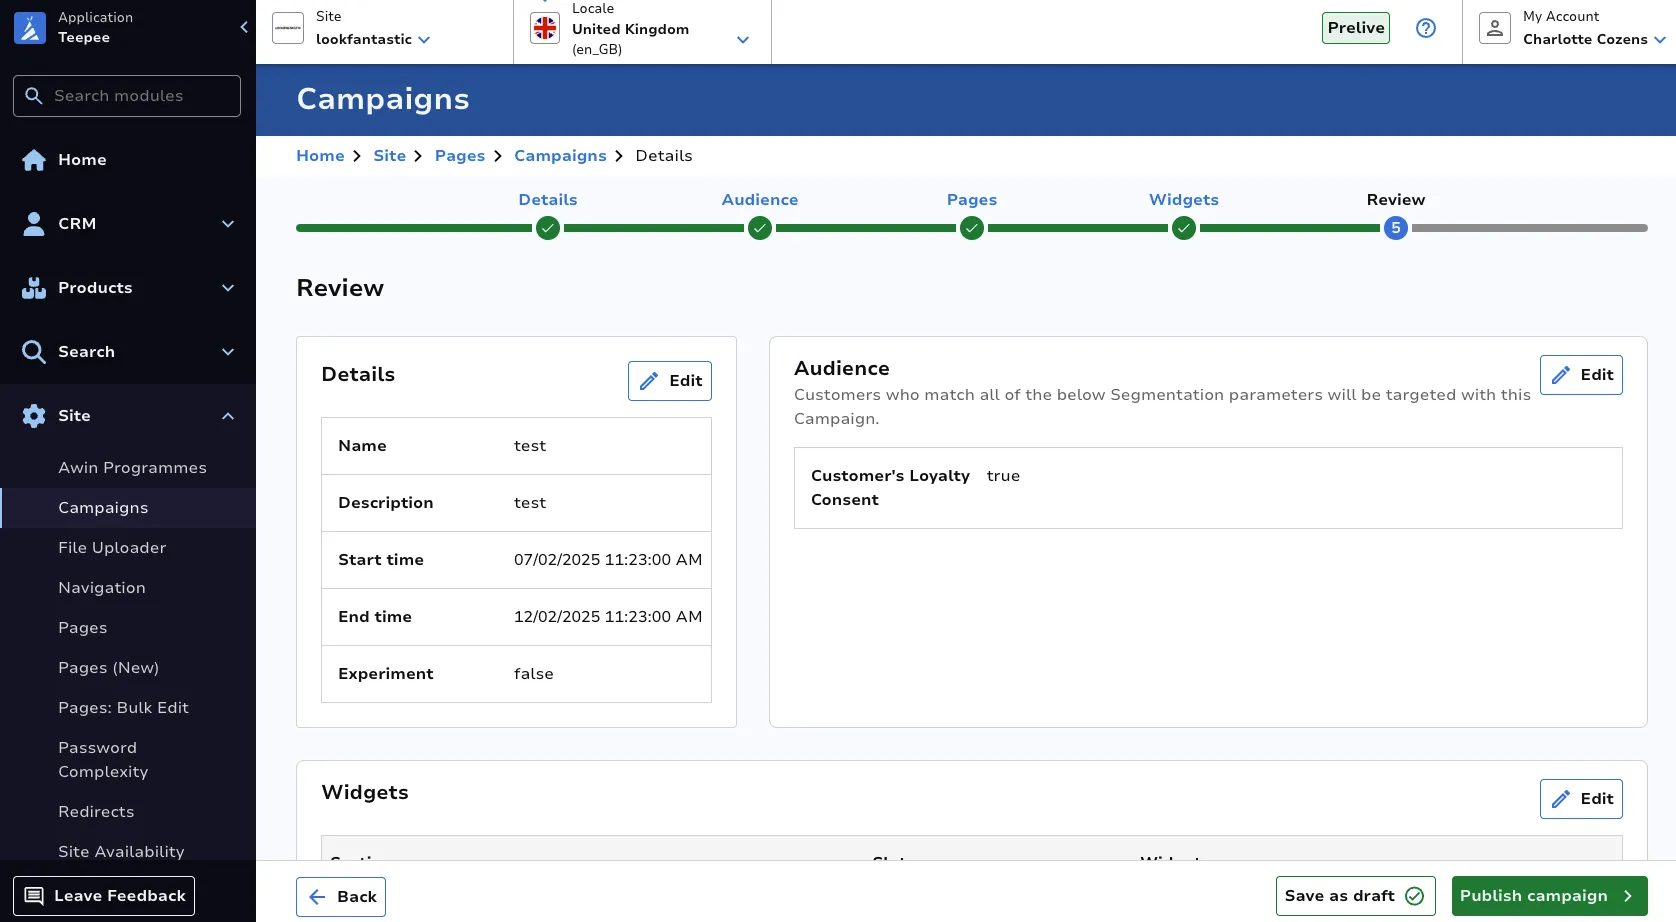
Finally, review your changes. At this point, you can save your changes as a draft or publish the campaign. Only published campaigns will apply to the site once the start date is reached.
Edit a Campaign
From the home page, click on the campaign name of the campaign you’d like to edit to see more details.
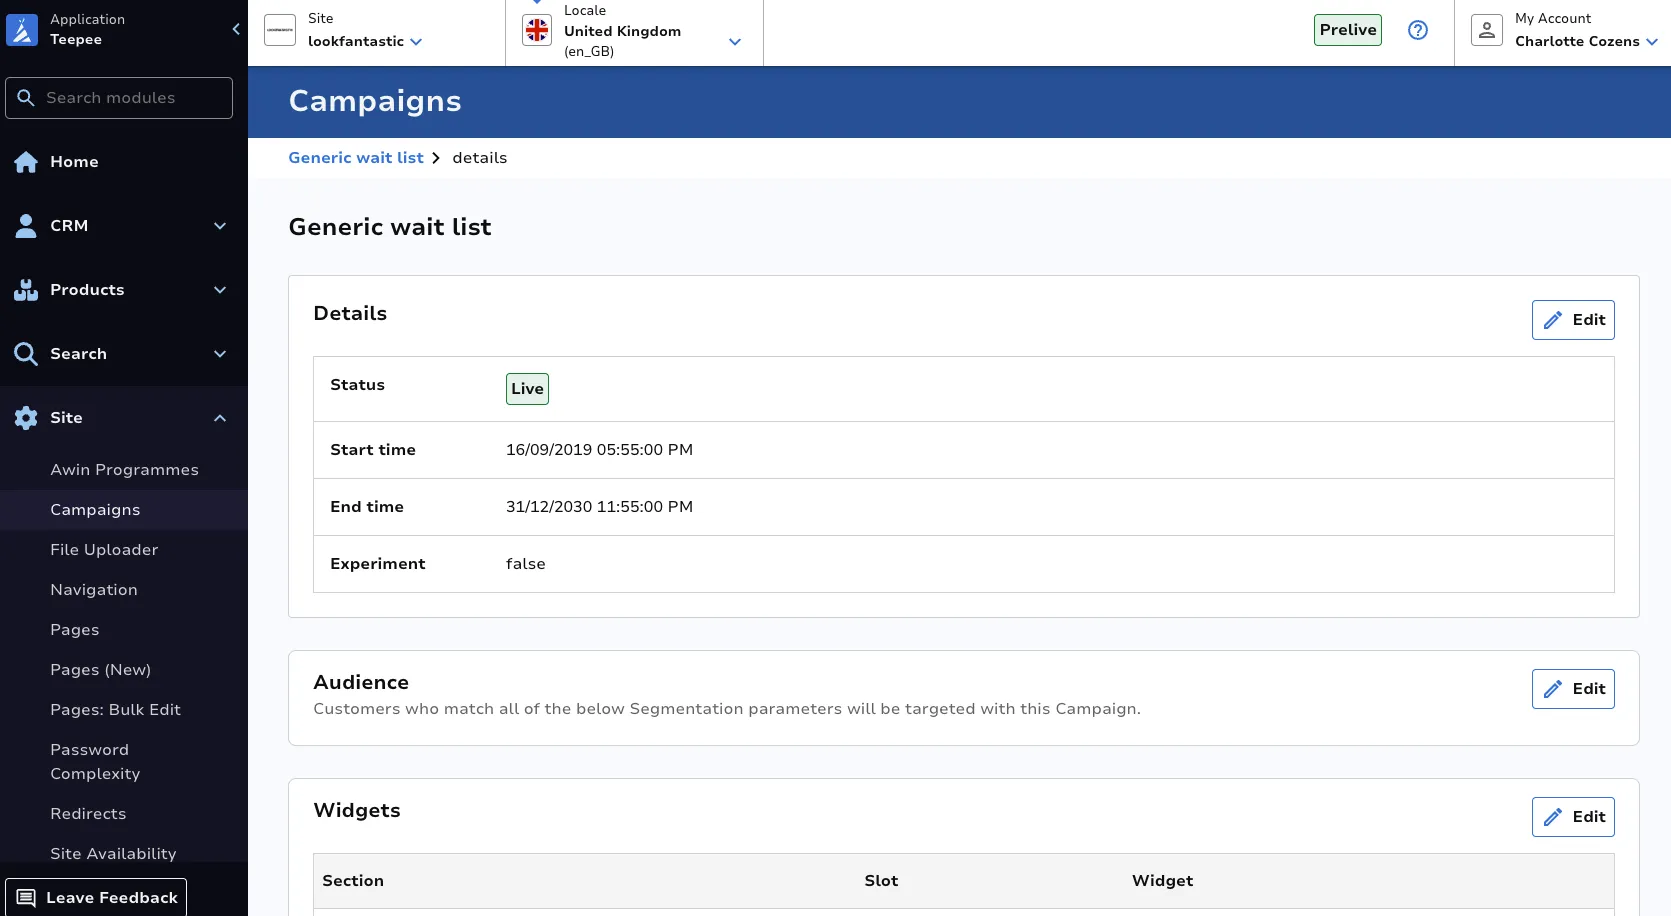
You can edit campaign details for any campaign except for those which have already finished. Just click the Edit button for the subsection you want to make changes to.
At the bottom of the details page, you can see a history of changes to the campaign.